morehawes

Australia 2026

Bike

Strip-down, clean and different build.

Before & after
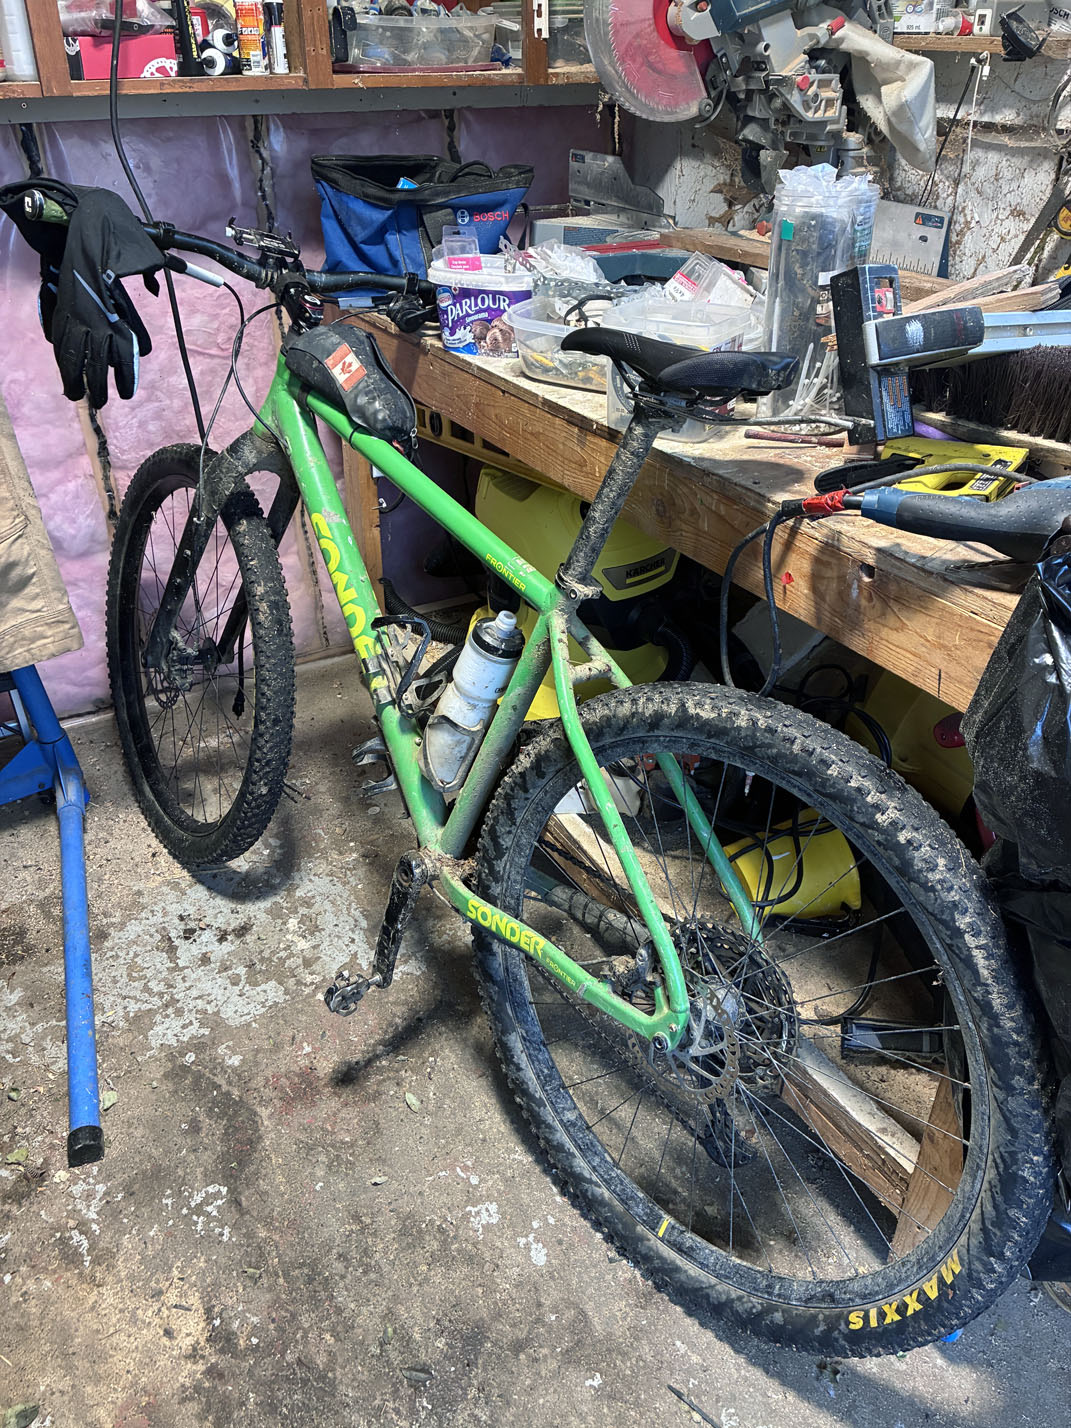
The green bike standing in the workshop, thickly coated in dried mud.
Before — My summer gravel setup, 29" with some BC autumn muck attached.
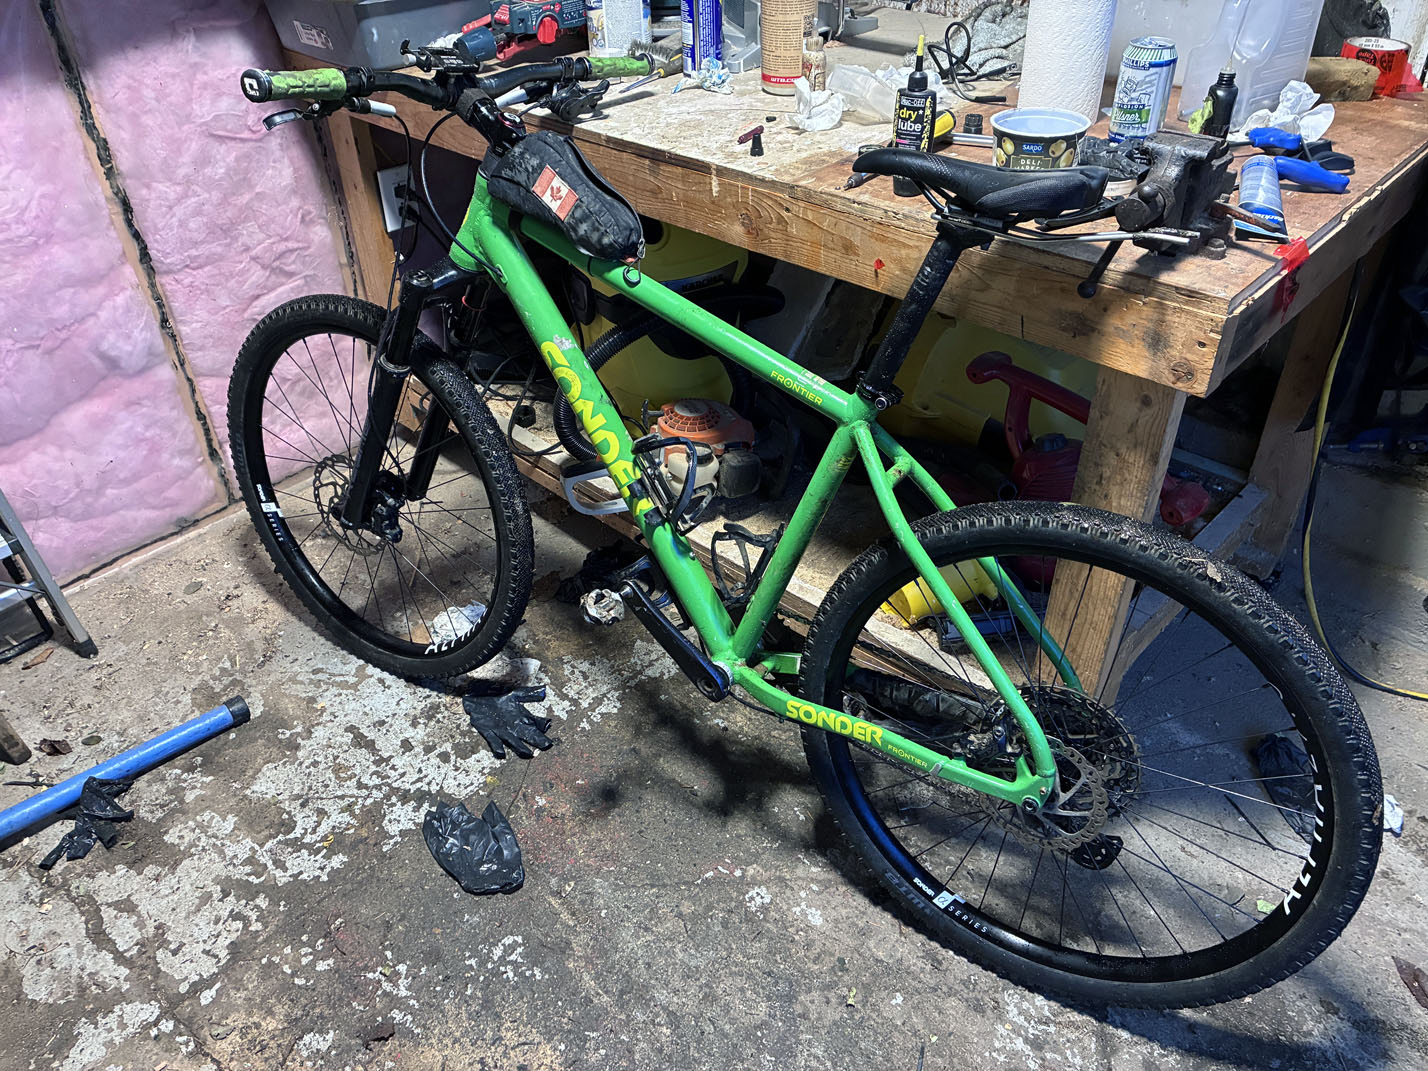
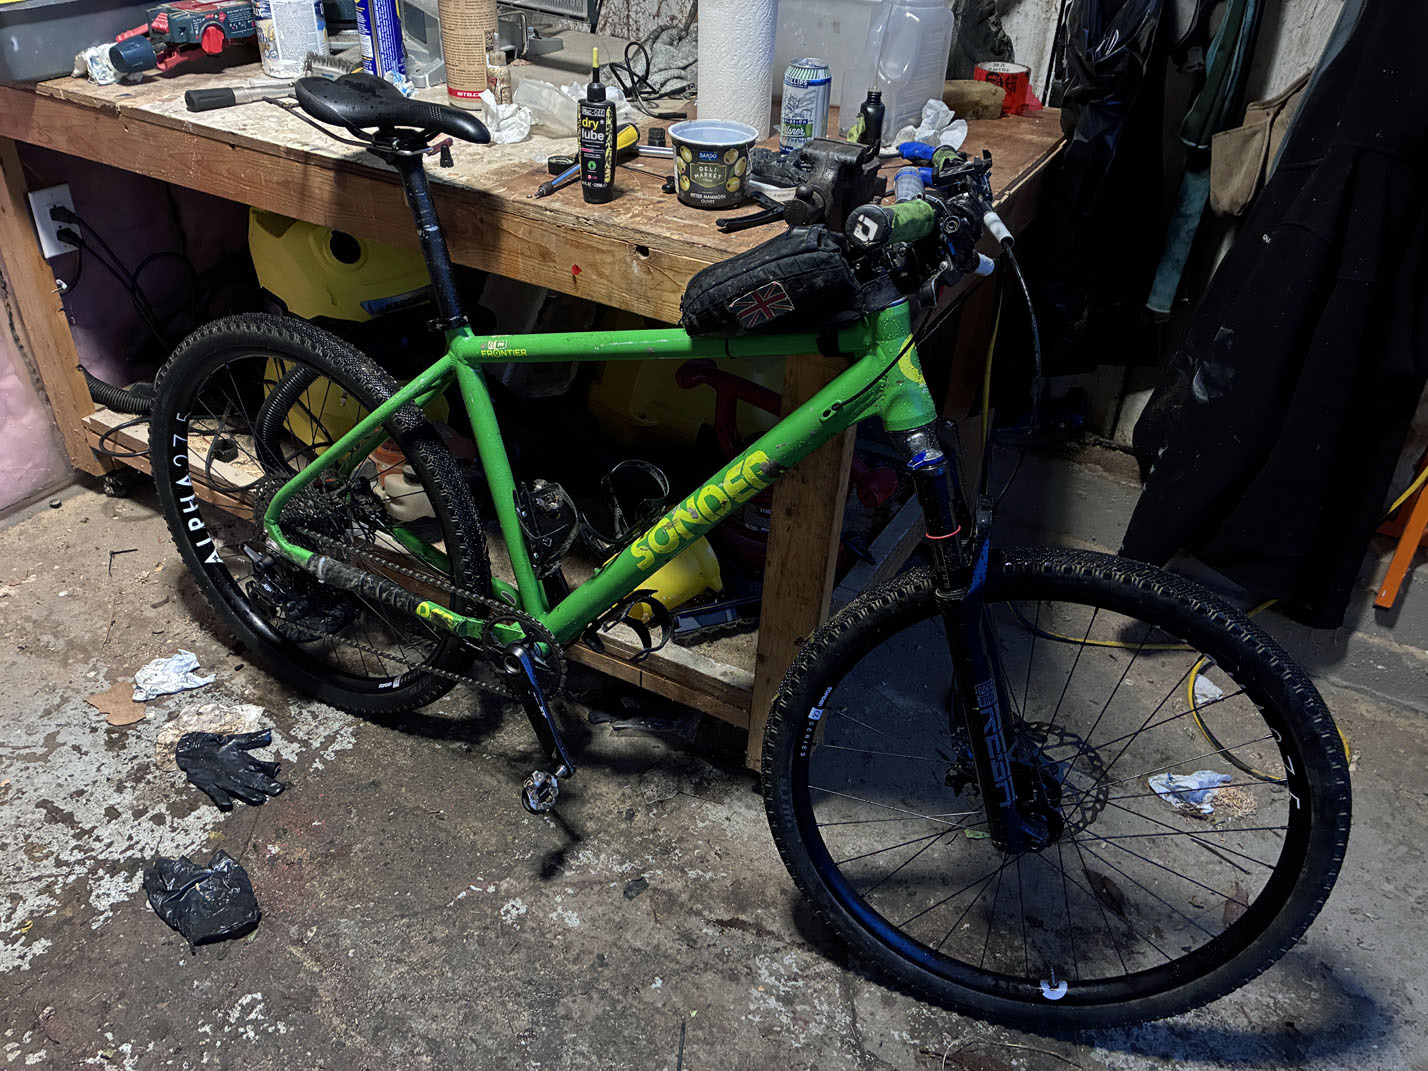
The same bike after servicing, clean and reassembled, leaning against the workbench.
After — Added front-suspension, plus a pair of new 27.5 wheels.

Steps

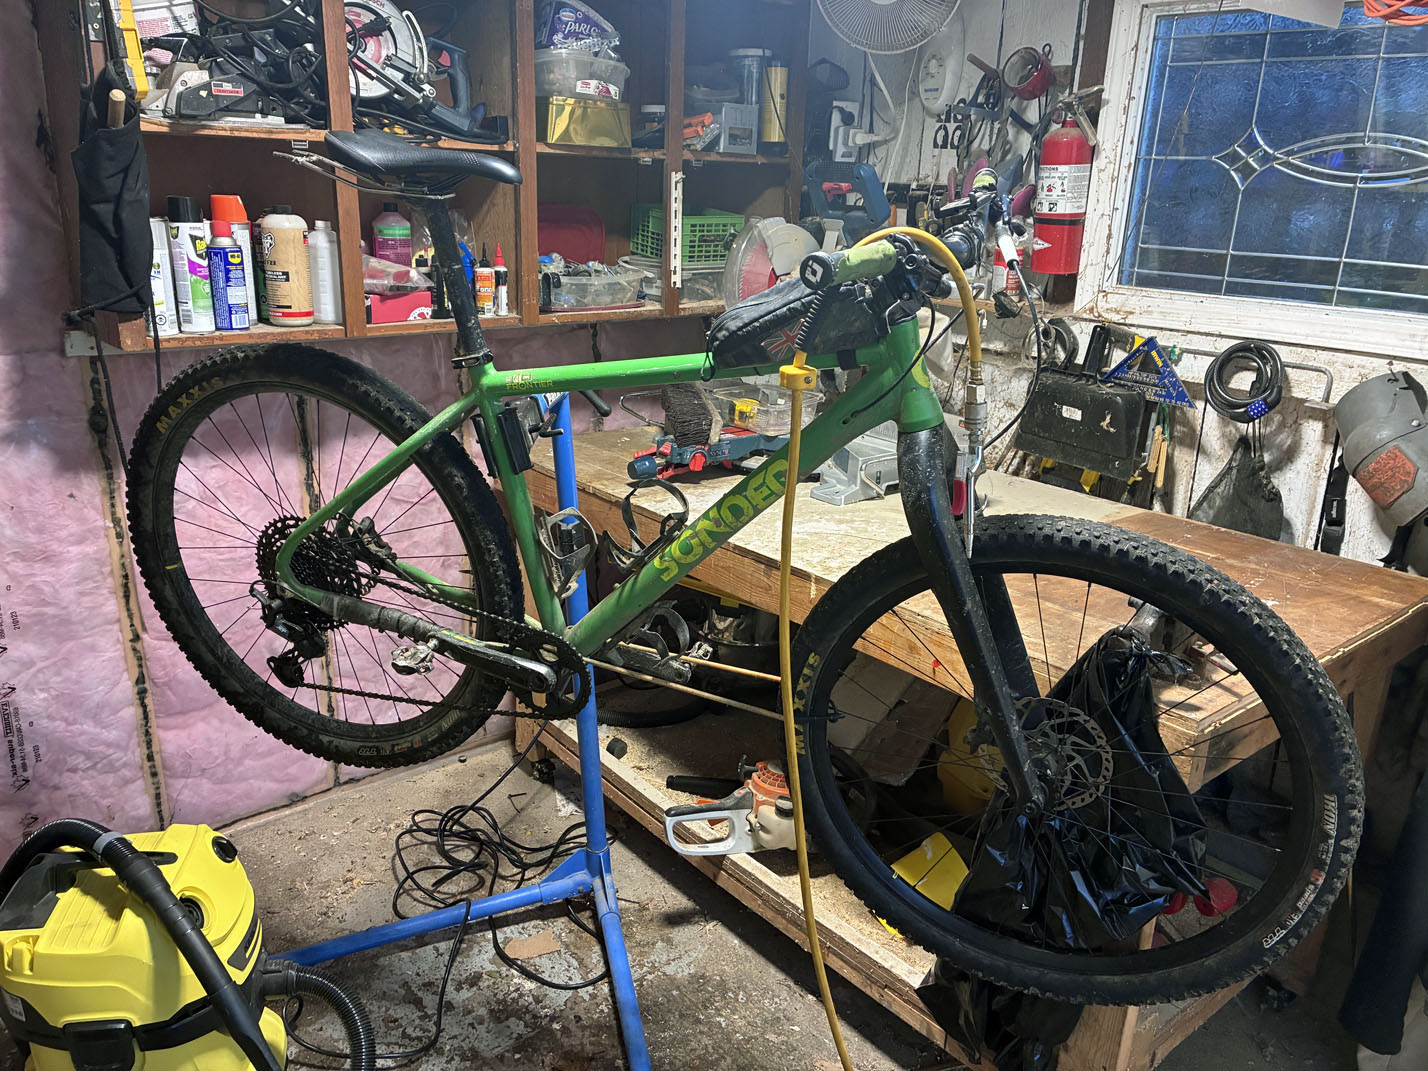
  1. The green bike clamped in a blue work stand, its front wheel removed and leaning against the bench.
    Compressed air to blow off as much dried muck as possible.
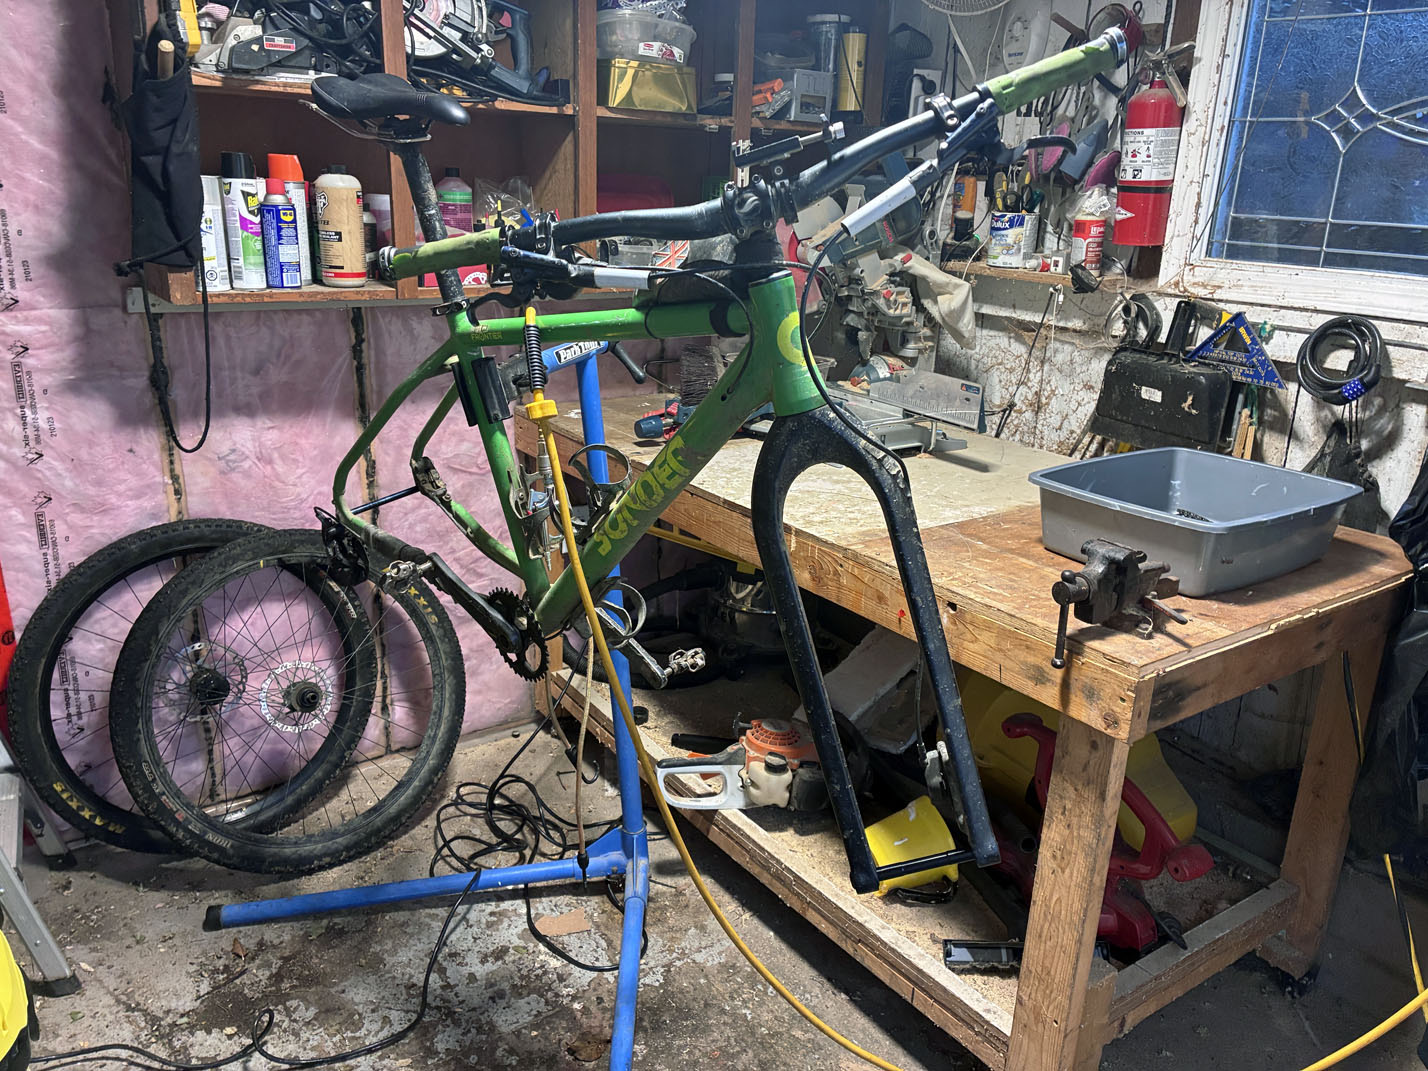
  2. The bare green frame in the work stand with both wheels removed and the fork hanging free.
    Wheels off.
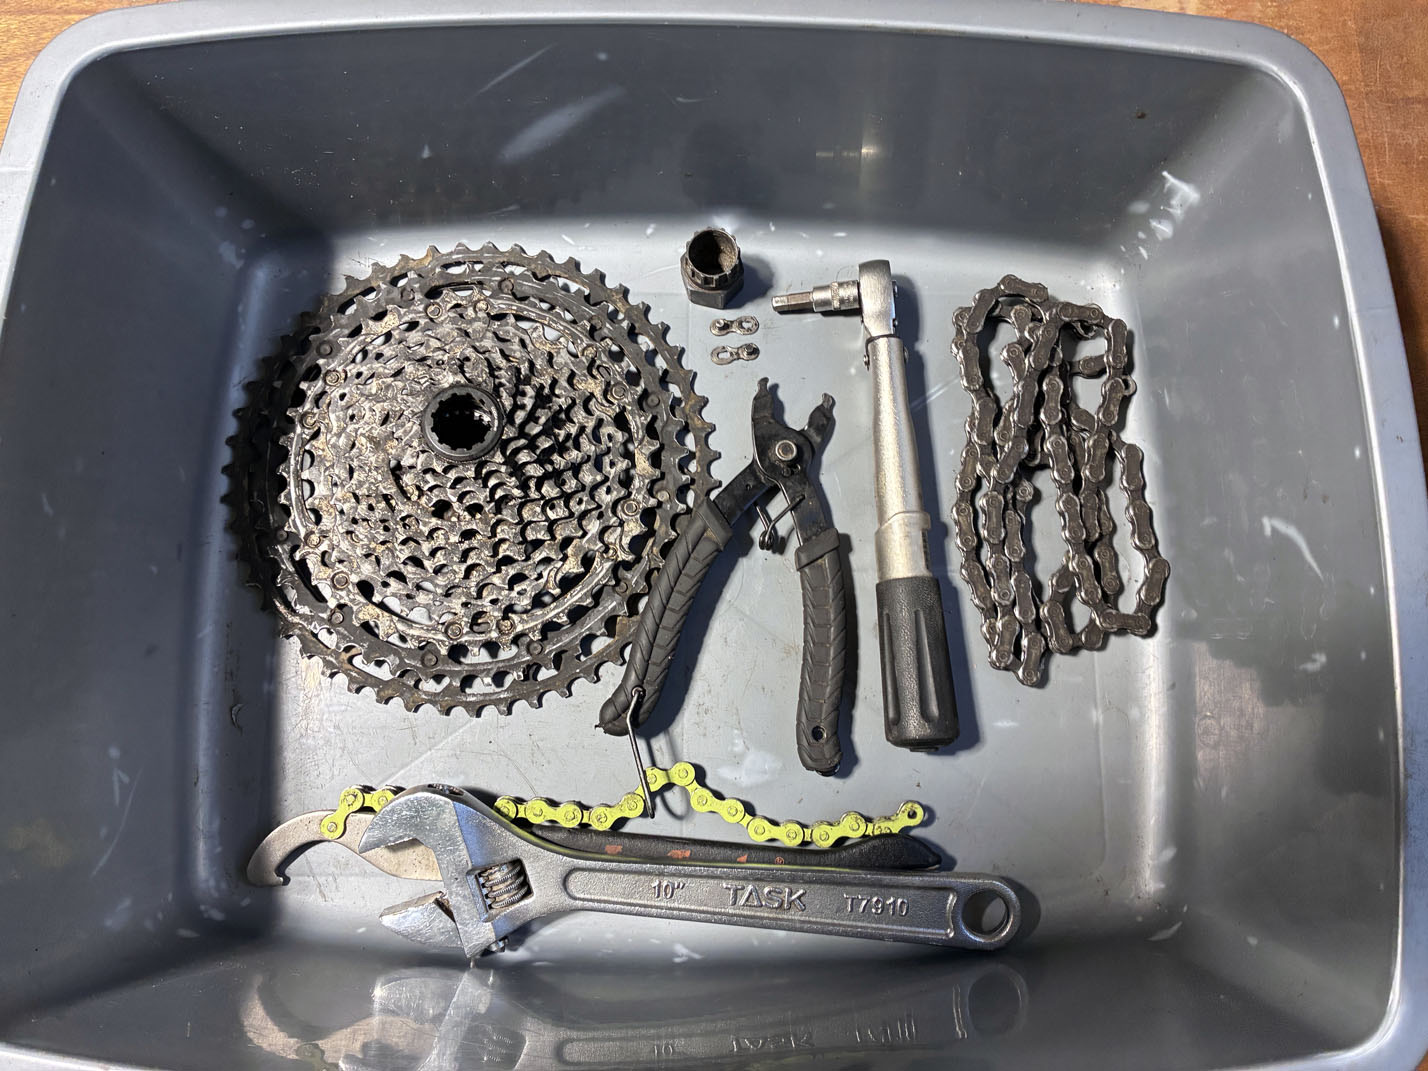
  3. A grey tub holding a mud-covered cassette, chain tools, two loose quick links, an old chain and a bright yellow replacement chain.
    Drivetrain off.
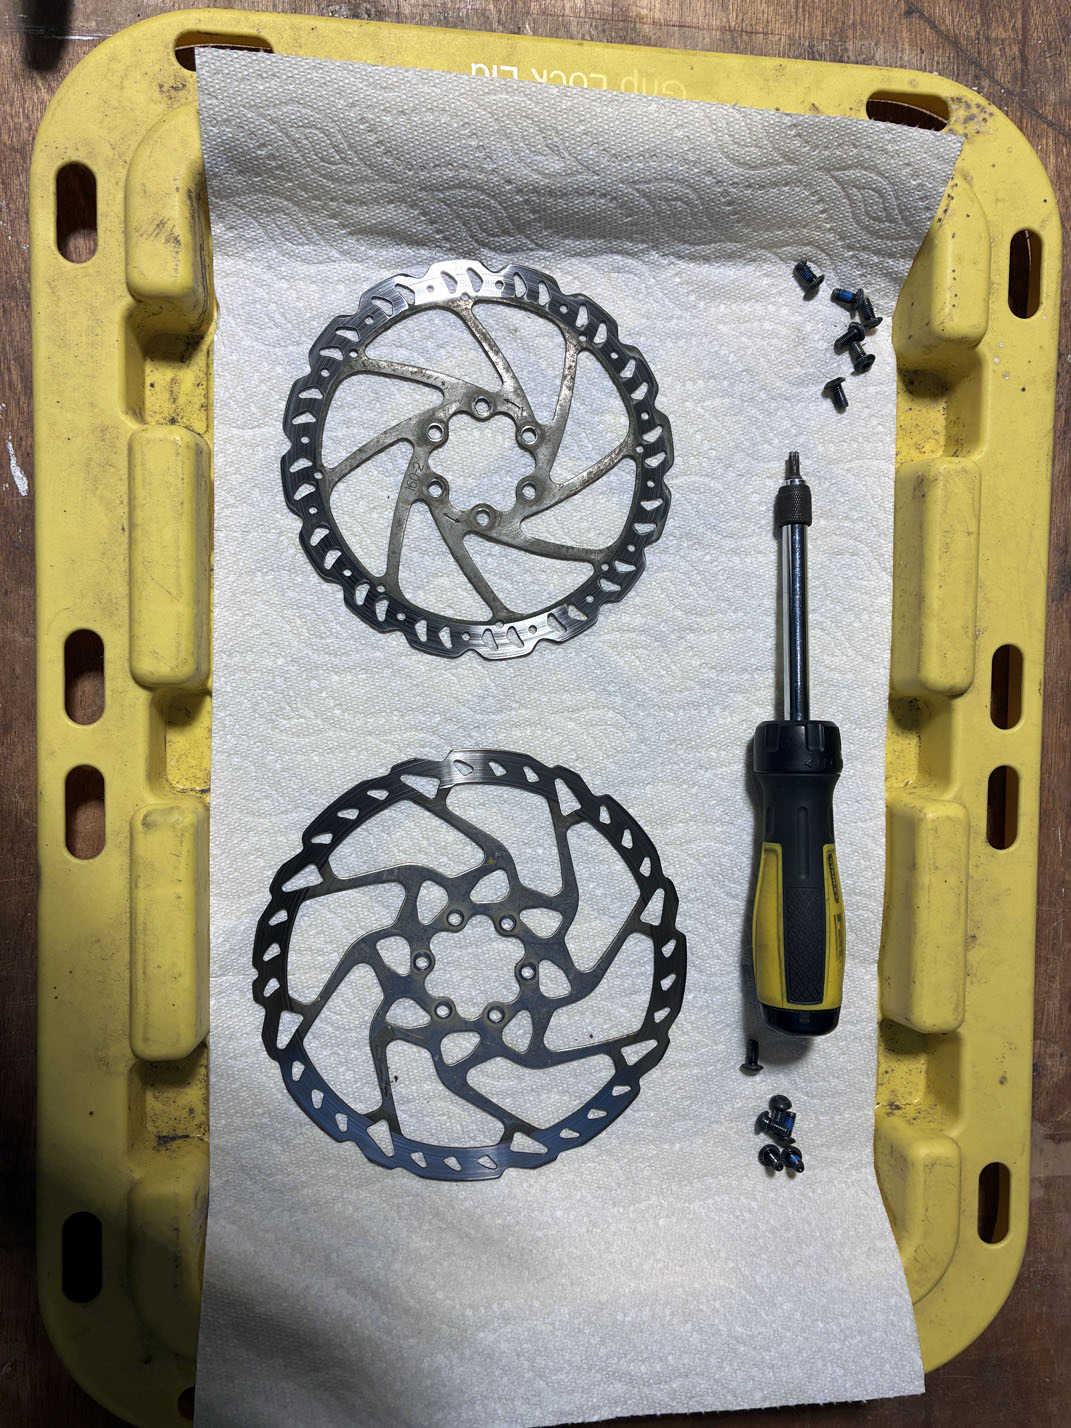
  4. Two disc rotors on white paper towel beside a Torx driver and a row of rotor bolts.
    Rotors off.
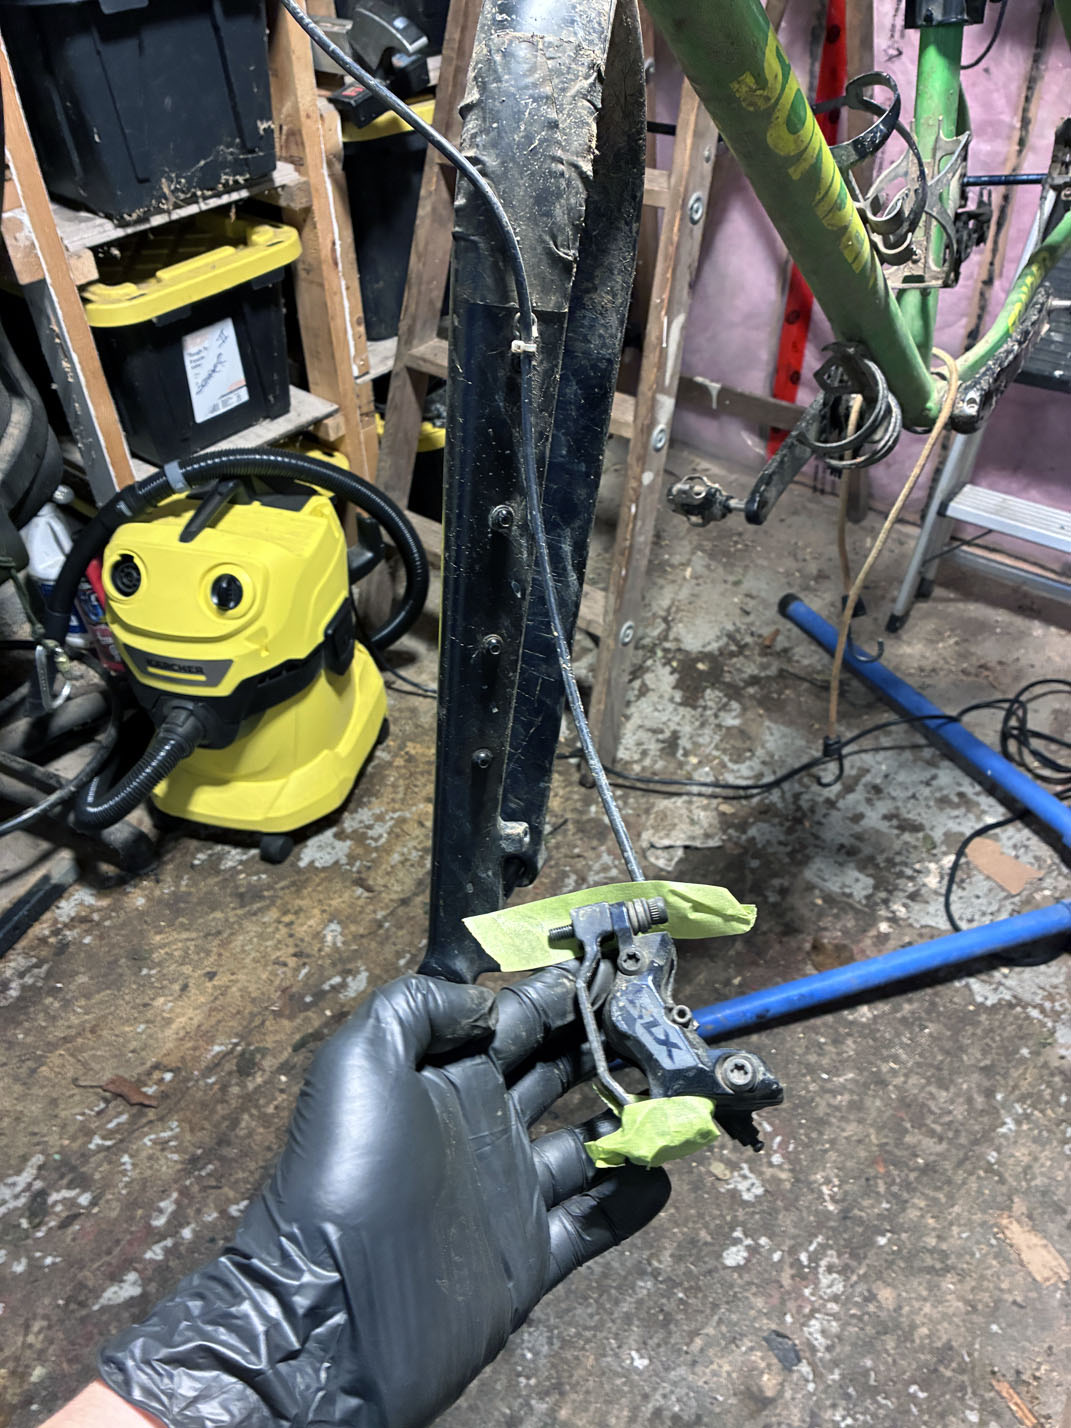
  5. A gloved hand holding a brake caliper with green masking tape over its pad opening.
    Calipers off (fasteners taped in place).
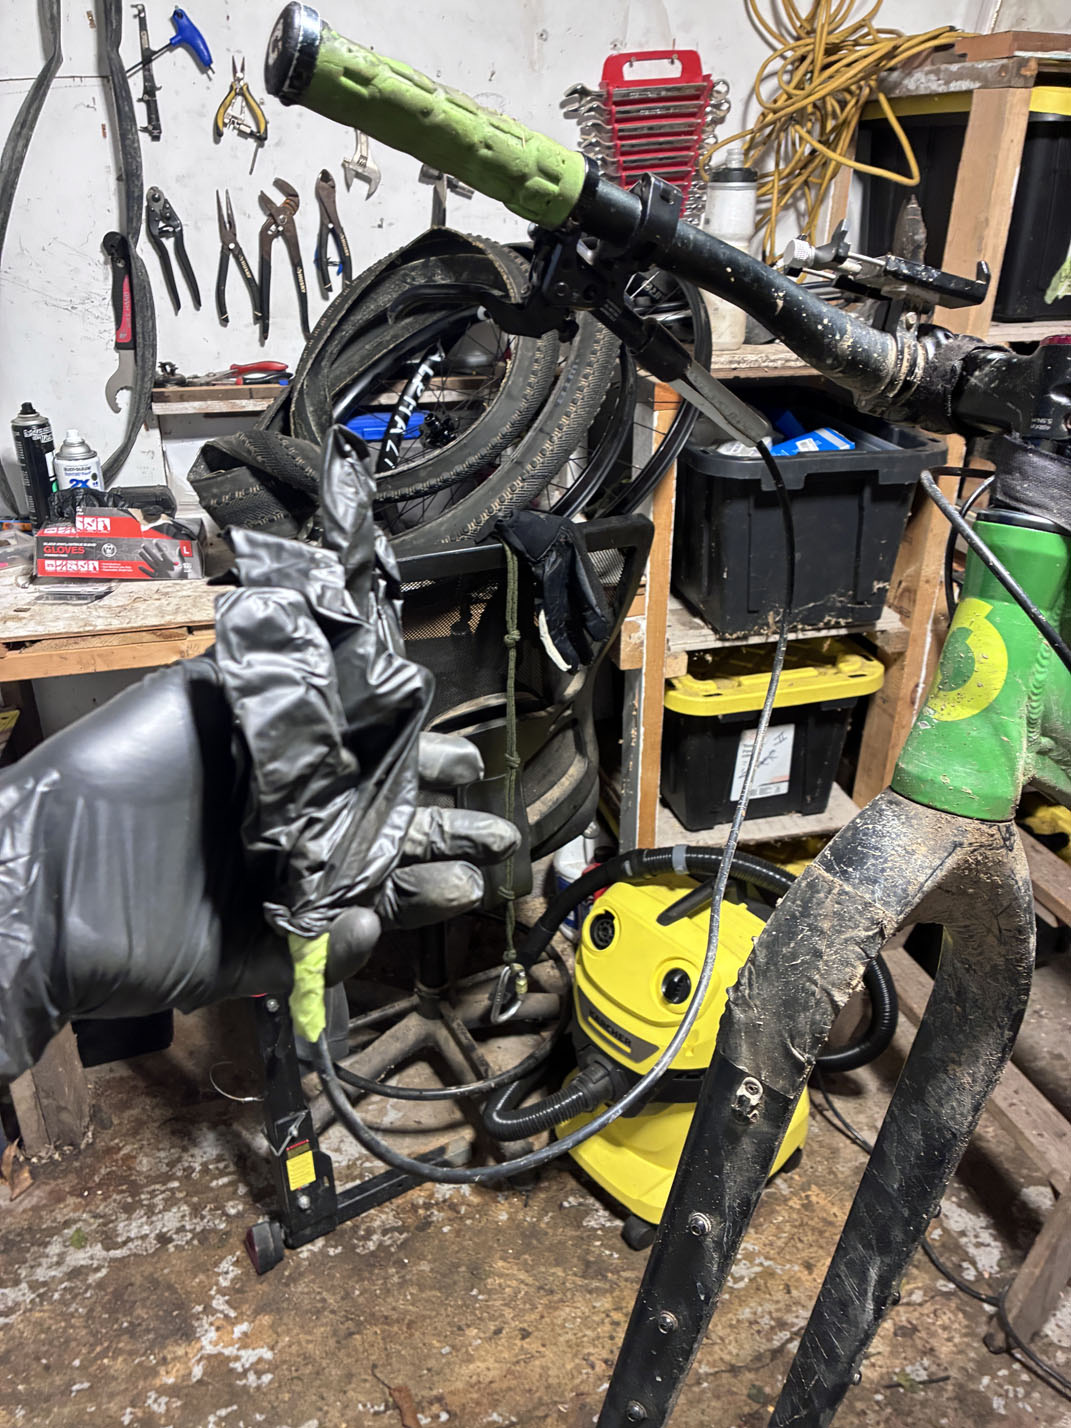
  6. A gloved hand pressing green tape over cables at the head tube of the green frame.
    Chuck it in a glove (keeps it clean).
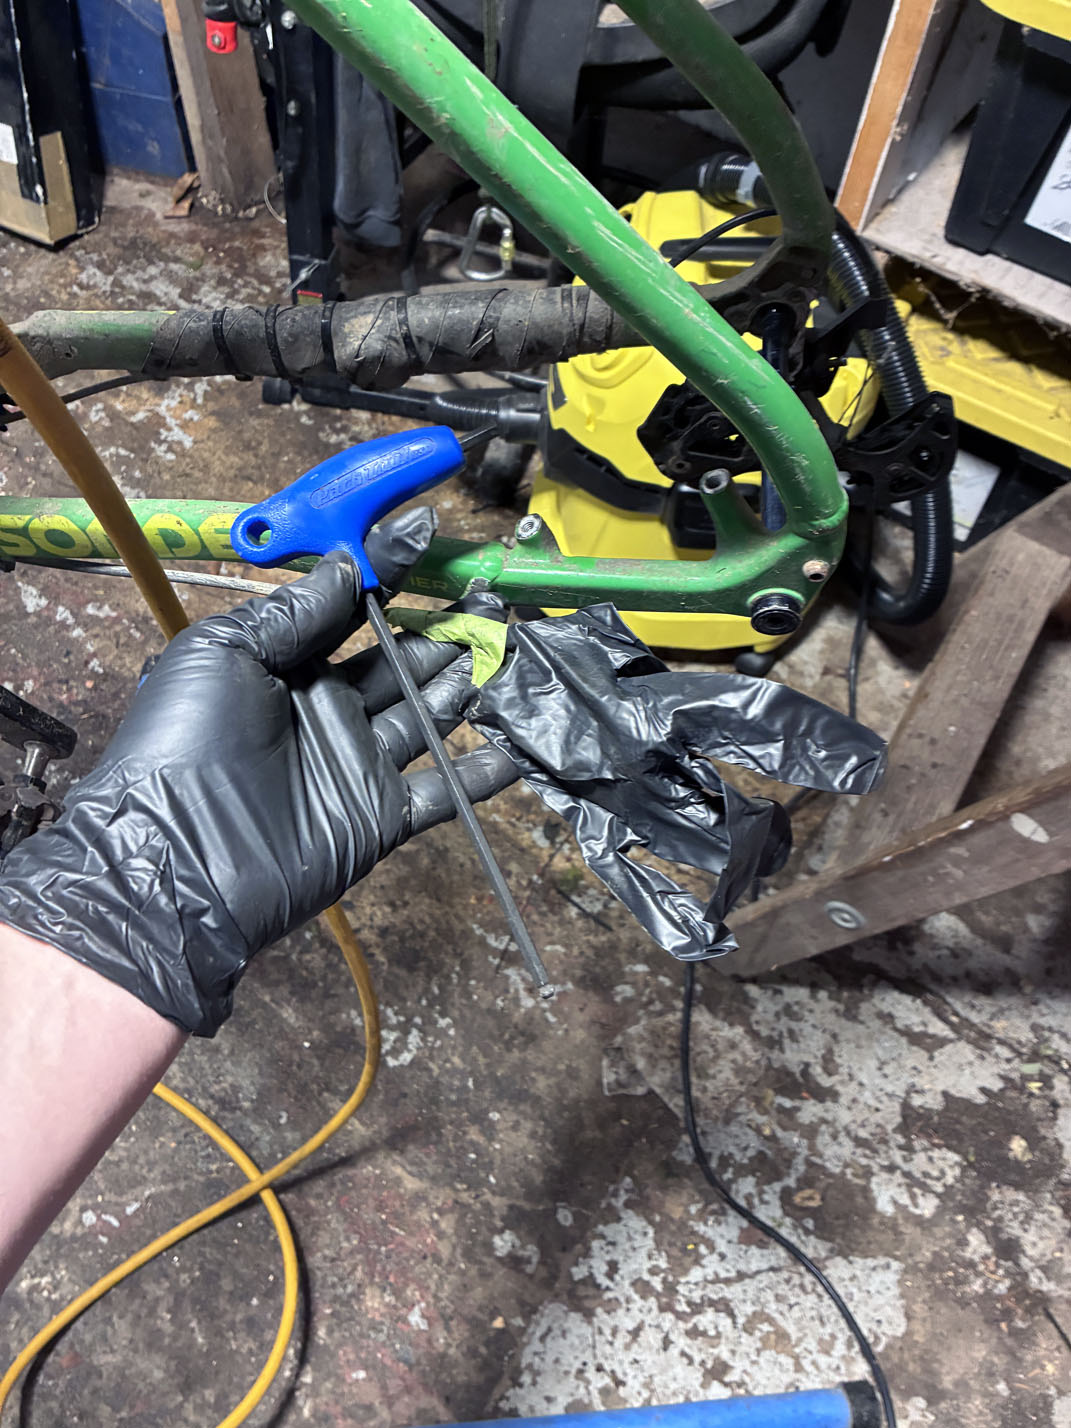
  7. A gloved hand holding a long hex key beside the inverted green frame.
    Rear caliper.
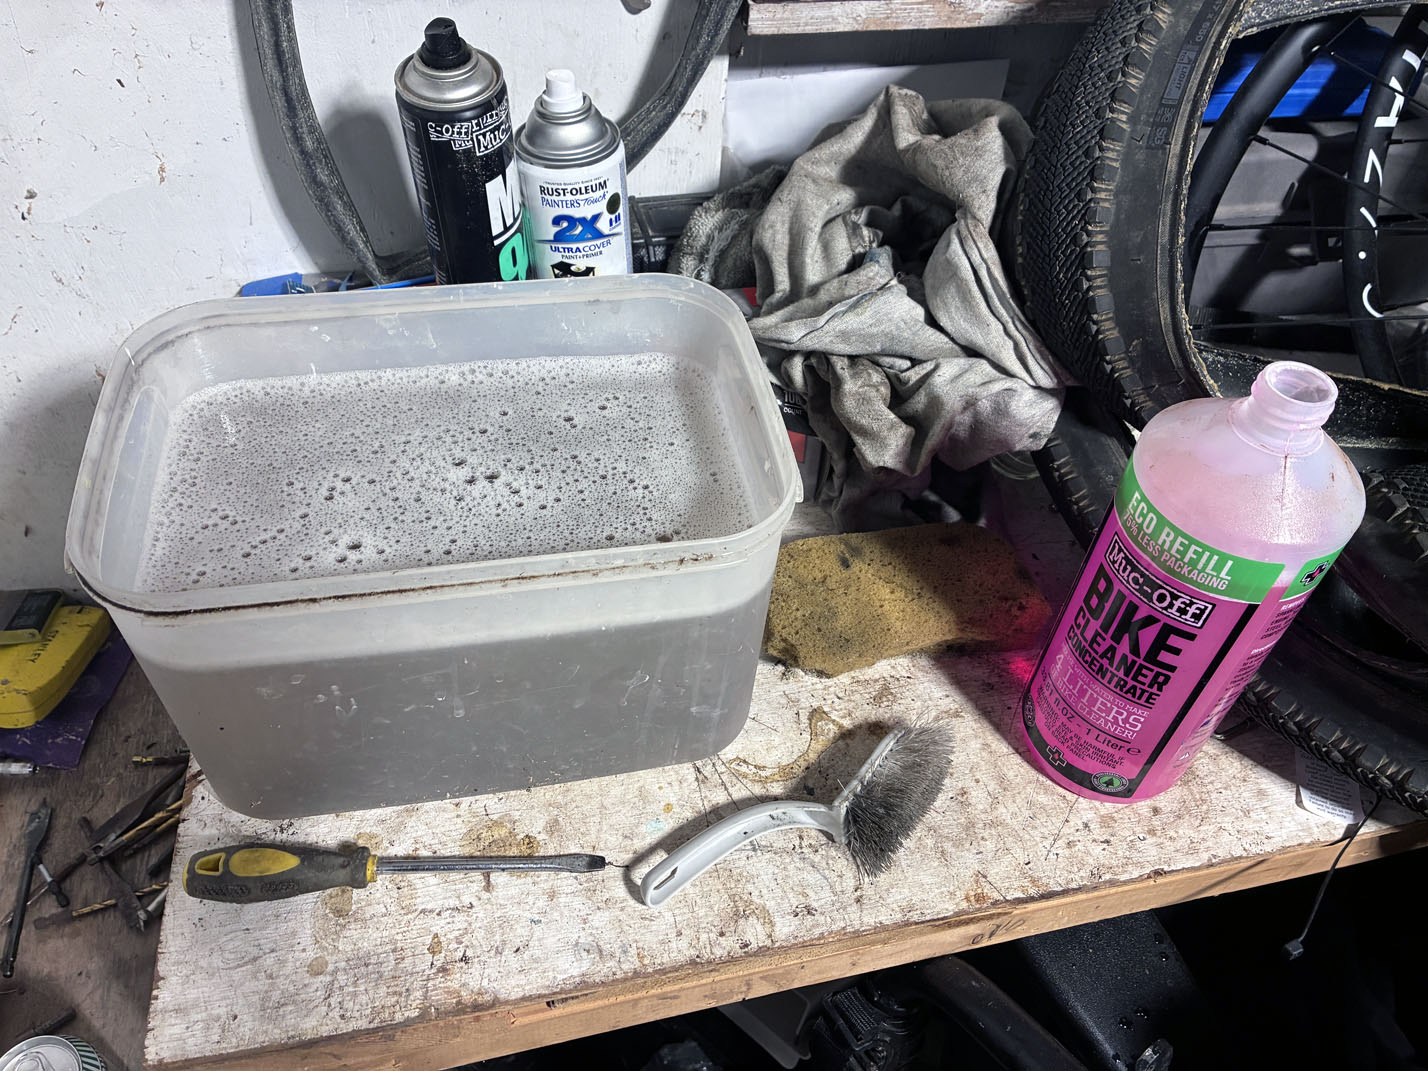
  8. A tub of soapy water on a wooden bench with a wire brush, a screwdriver and a bottle of Muc-Off cleaner.
    Hot water + bike cleaner.
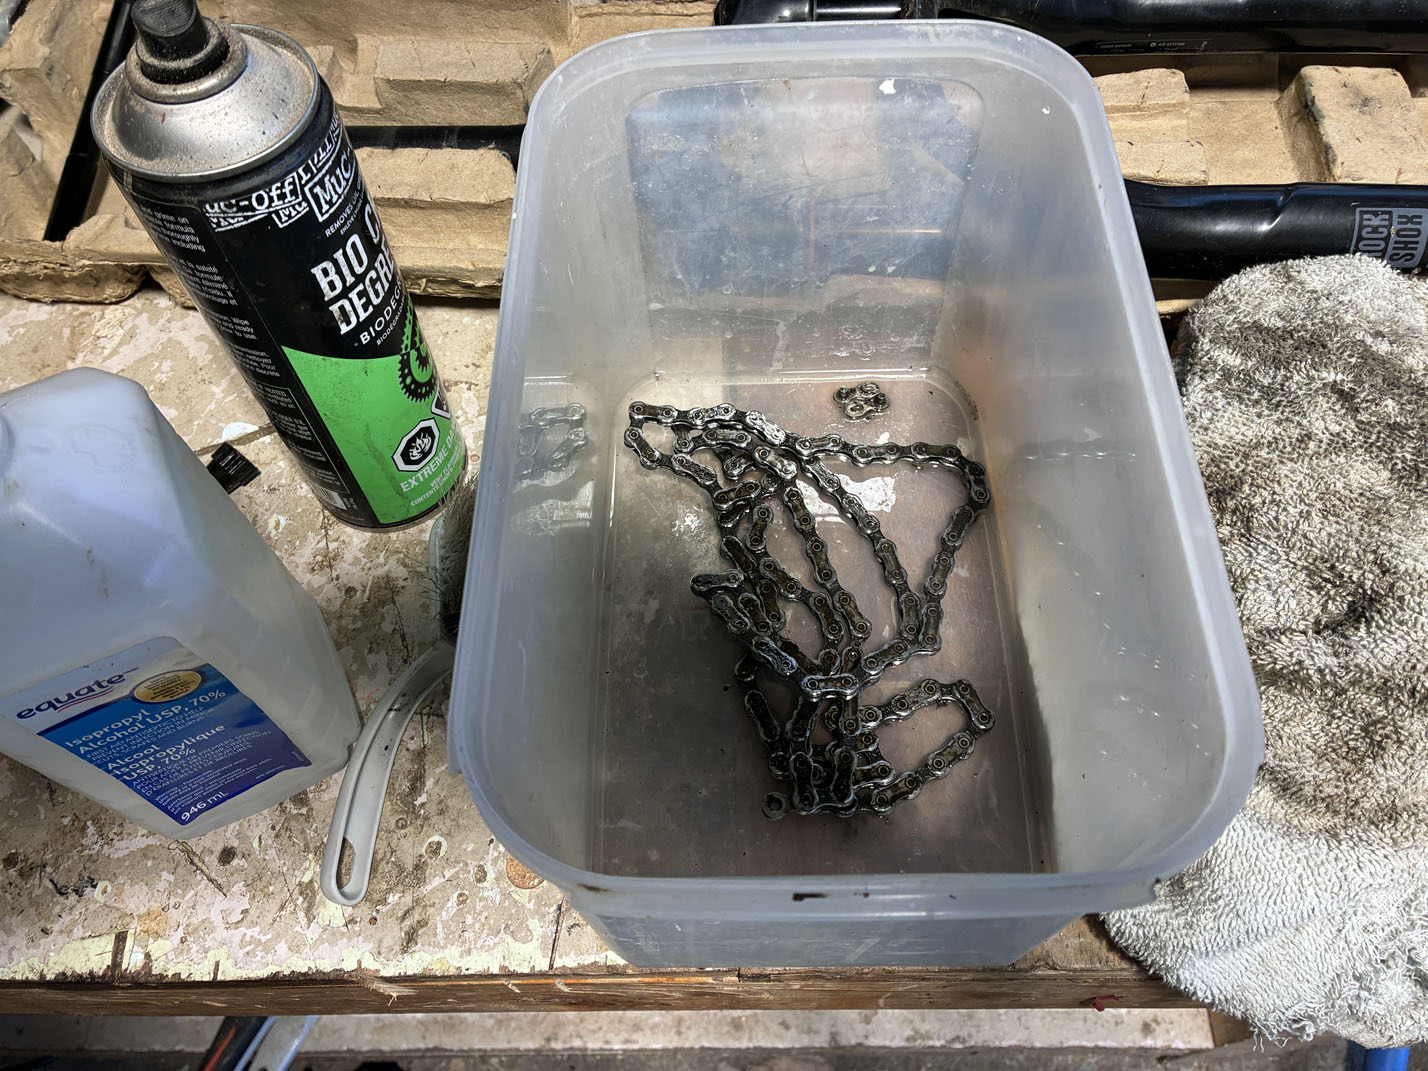
  9. A coiled chain lying in a tub of clear liquid with a loose quick link beside it.
    Chain degreaser.
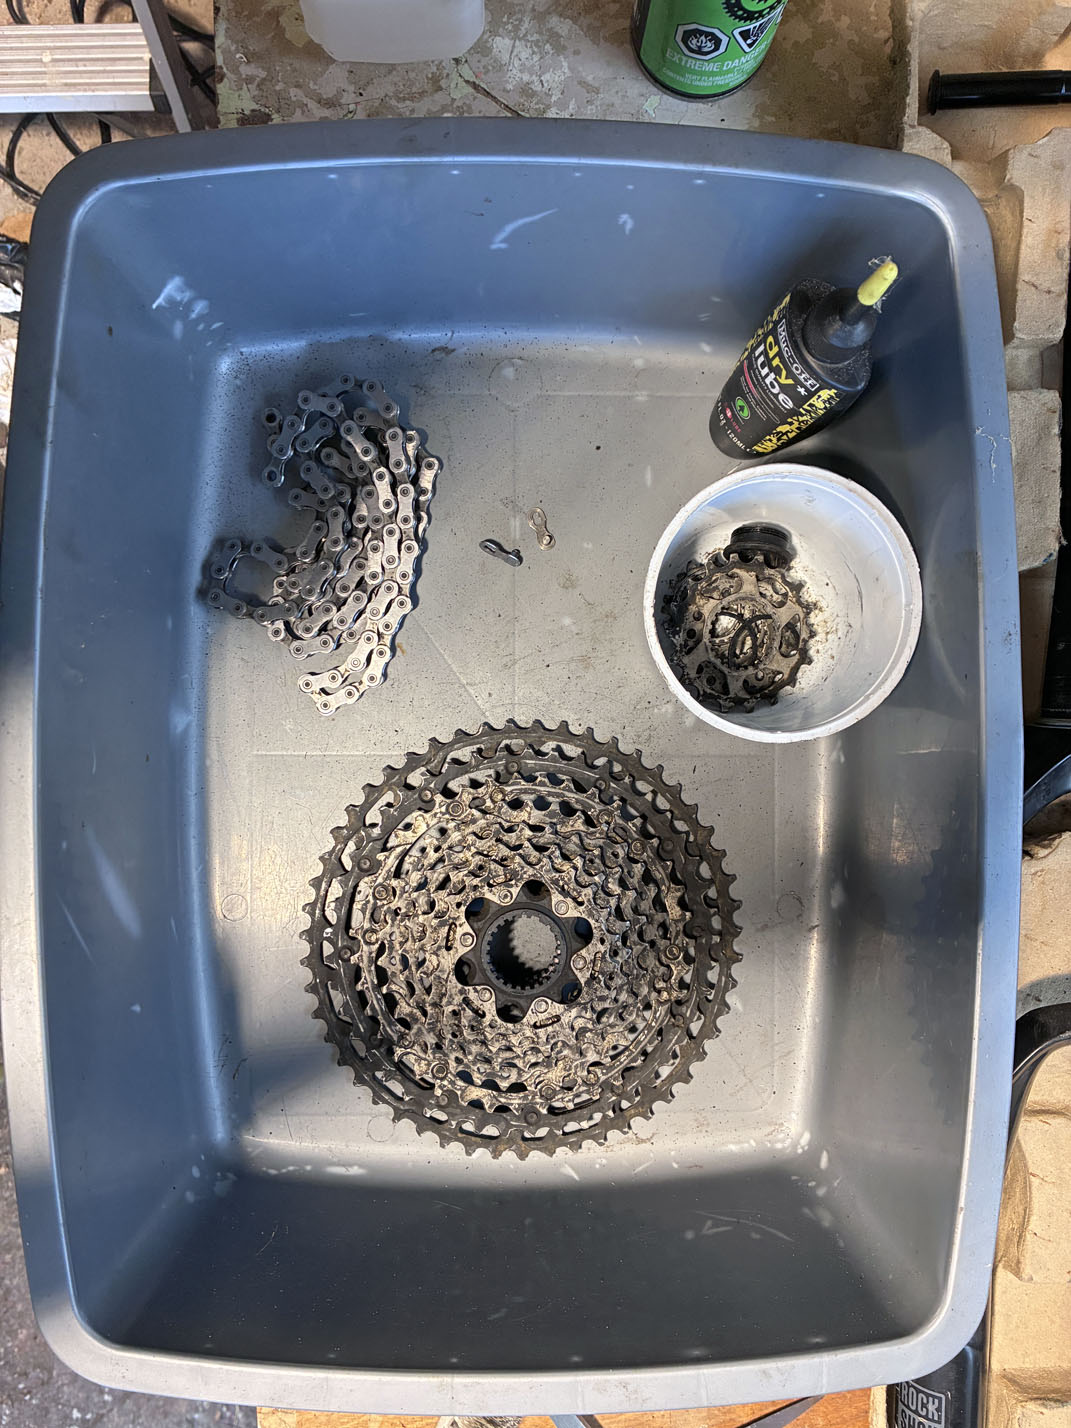
  10. A grey tray with a cleaned chain, two quick links, a mud-caked cassette and a small ring component.
    Cassette gets a light clean.
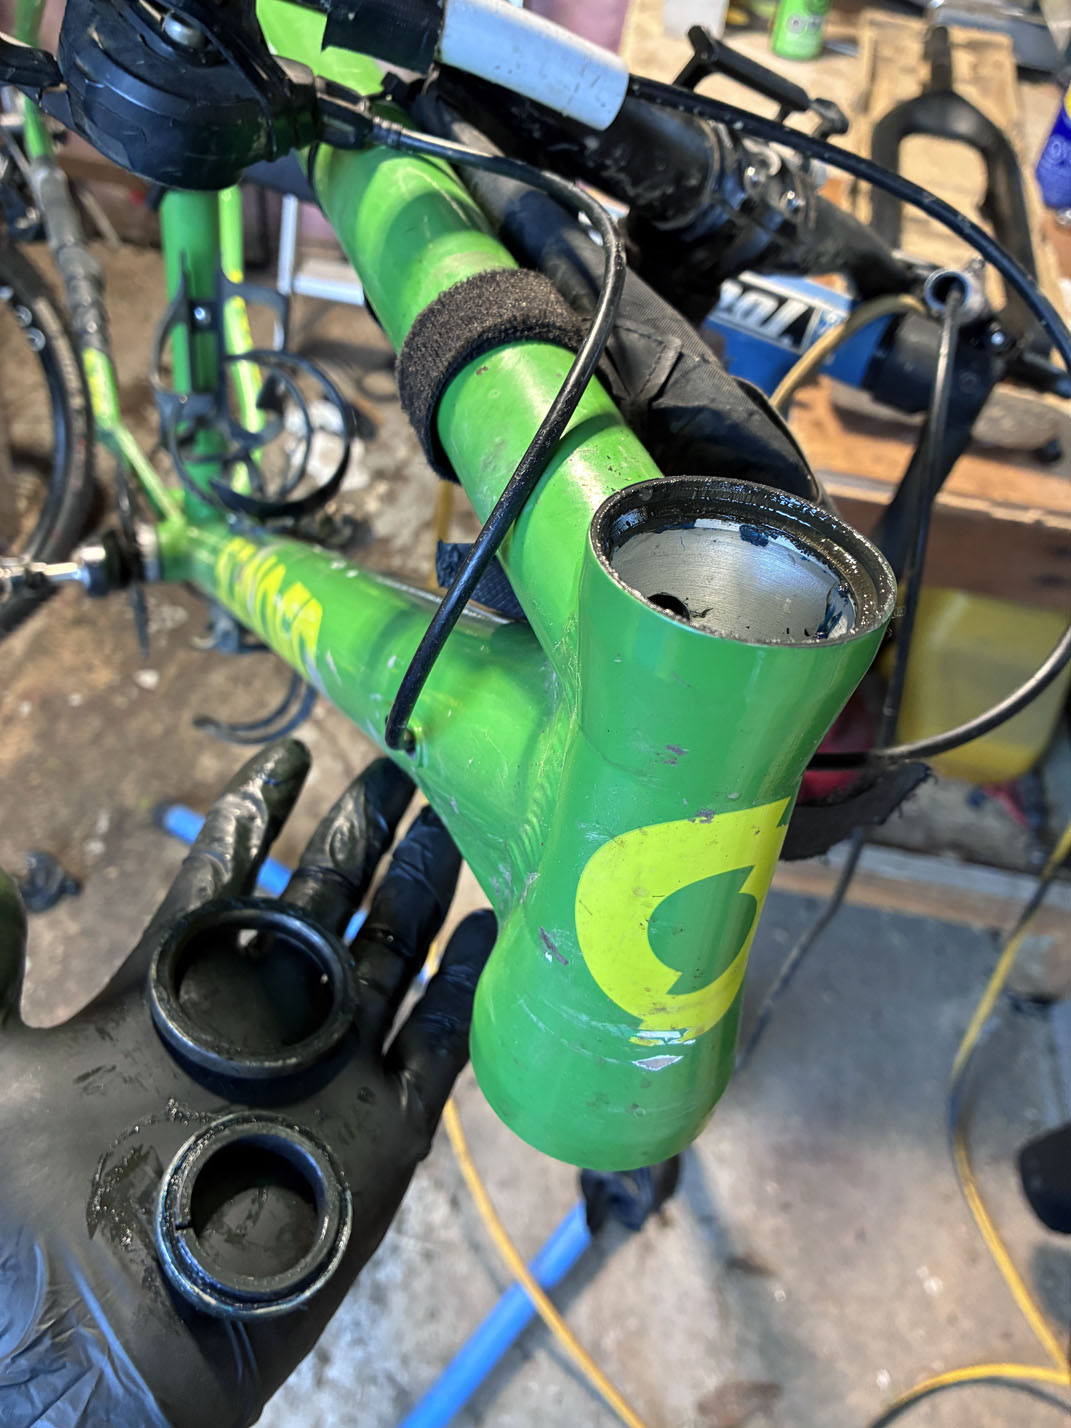
  11. A gloved hand holding two cartridge bearings beside the open head tube.
    Yucky headset bearings. Still runs smooth though.
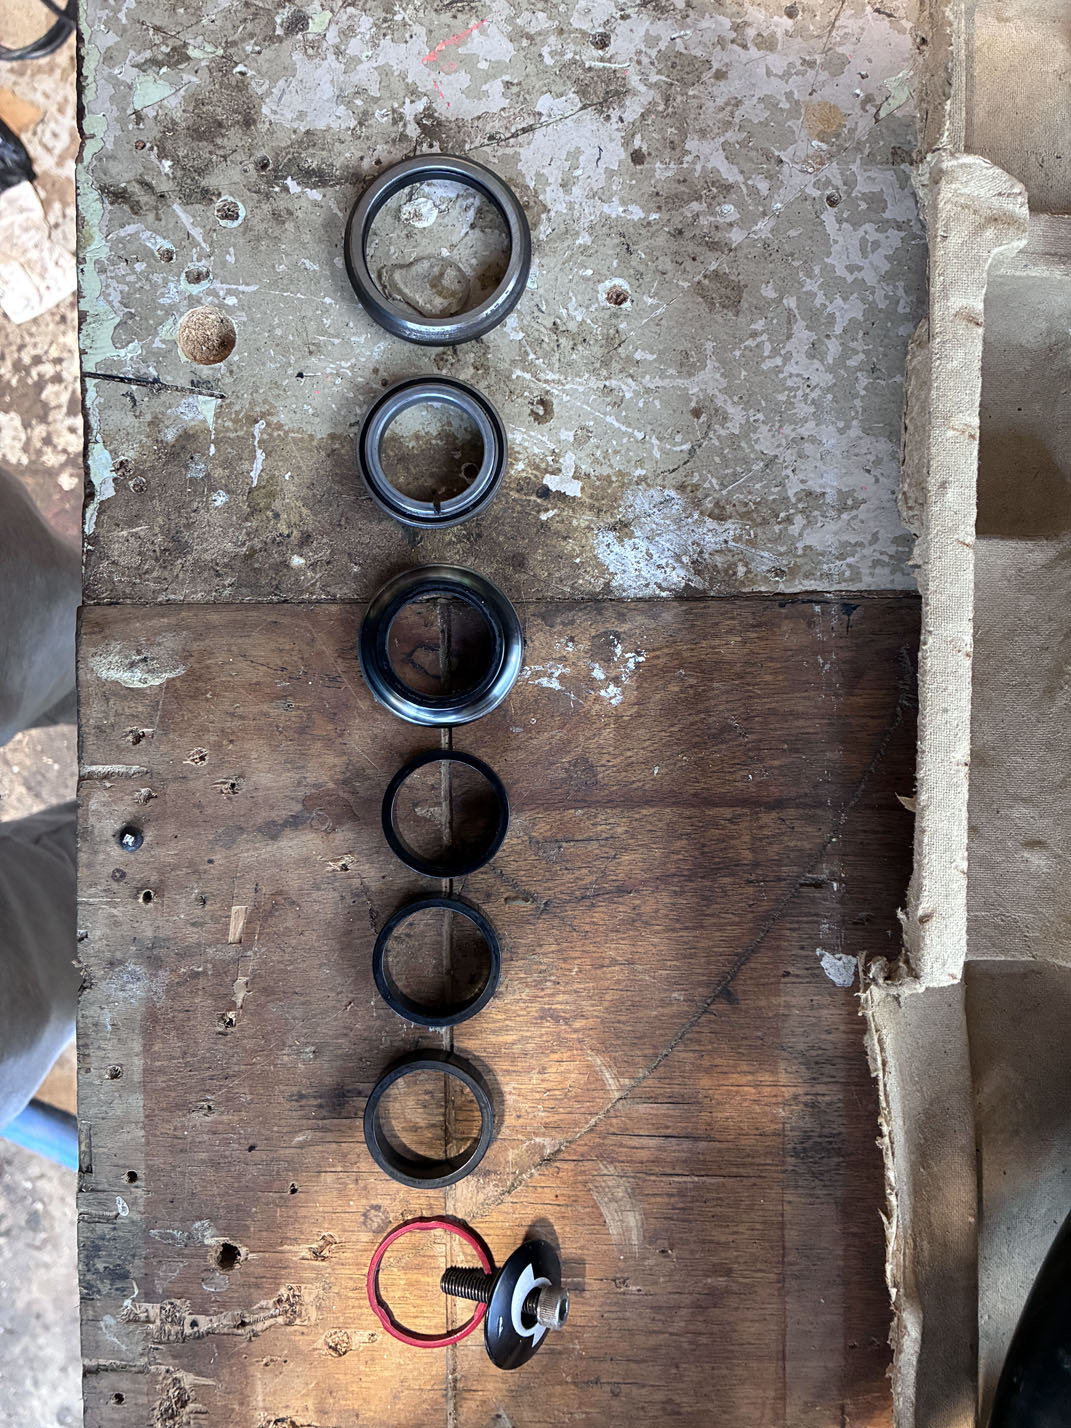
  12. Six black headset rings, a seal and a top cap arranged in a row on a wooden bench.
    The whole headset laid out in order, ready to go back together.
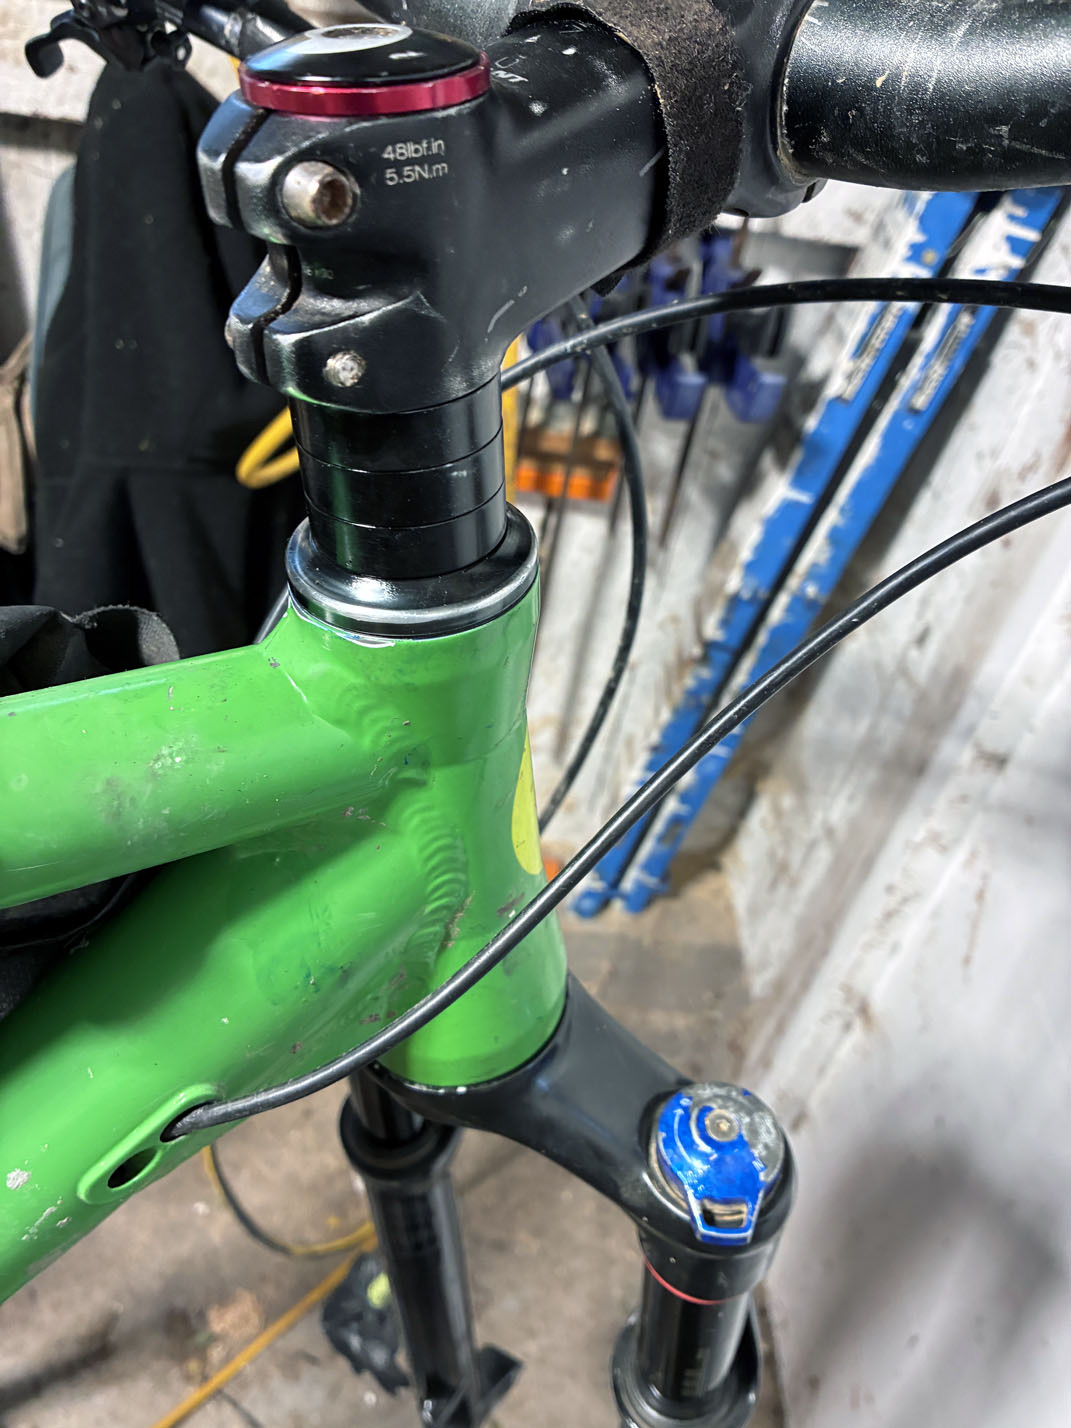
  13. The rebuilt front end: stem, spacers and a metal headset cup seated in the green head tube.
    Headset and fork back in, in order.
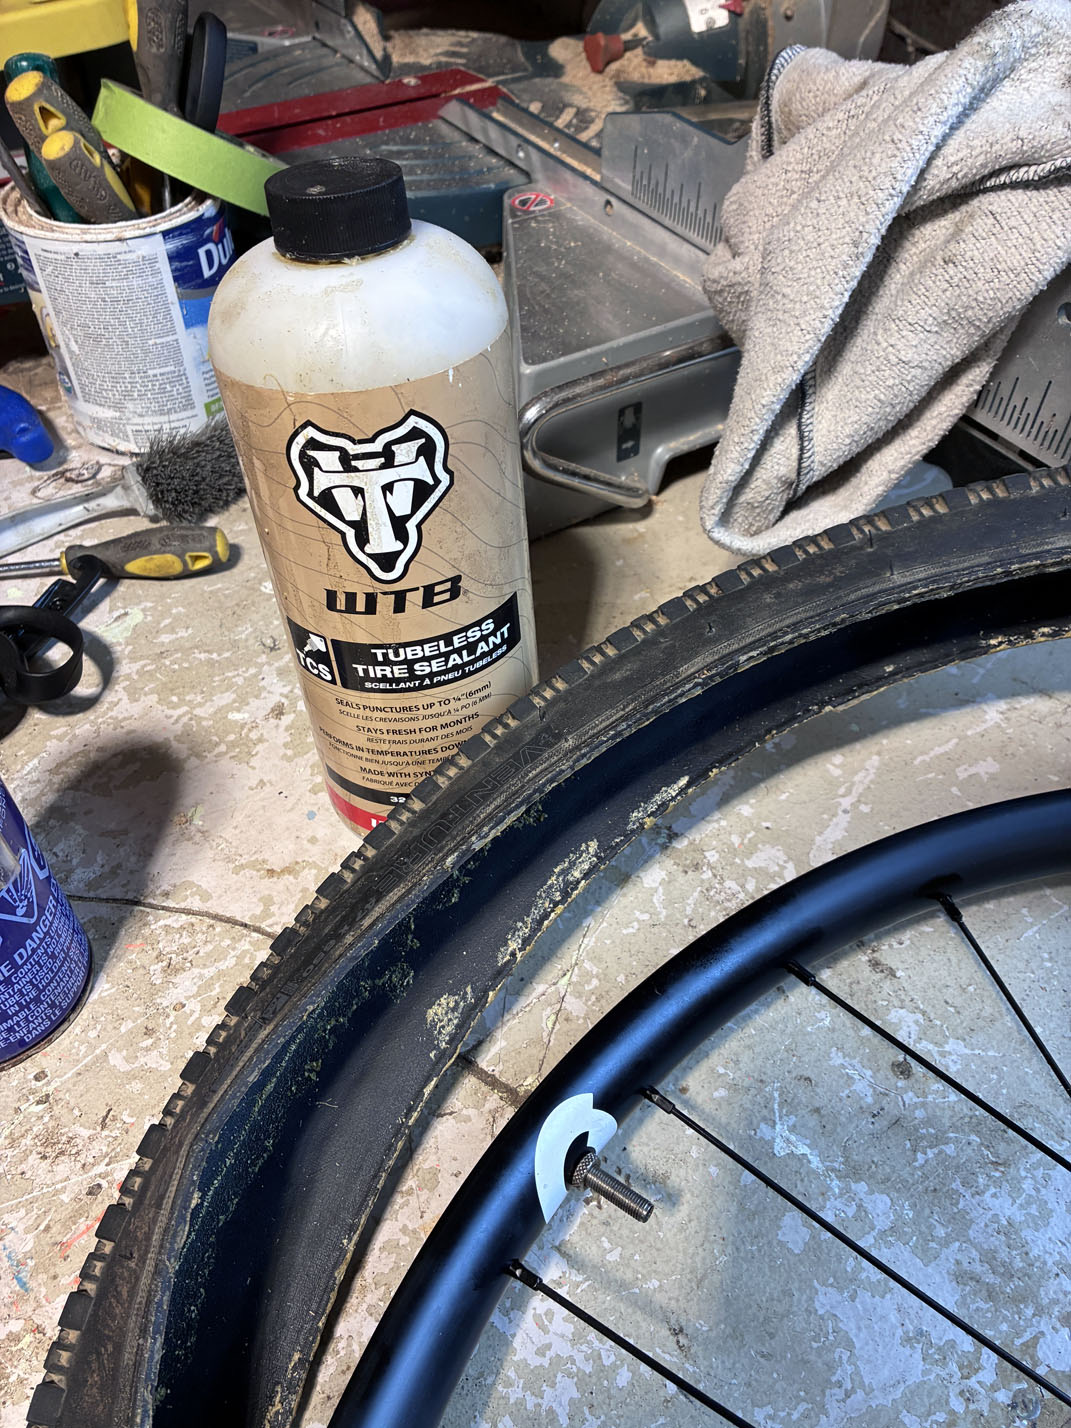
  14. A bottle of WTB tubeless sealant standing over a dirty wheel with its valve visible.
    Valve added to rim, wheels ready for sealant.
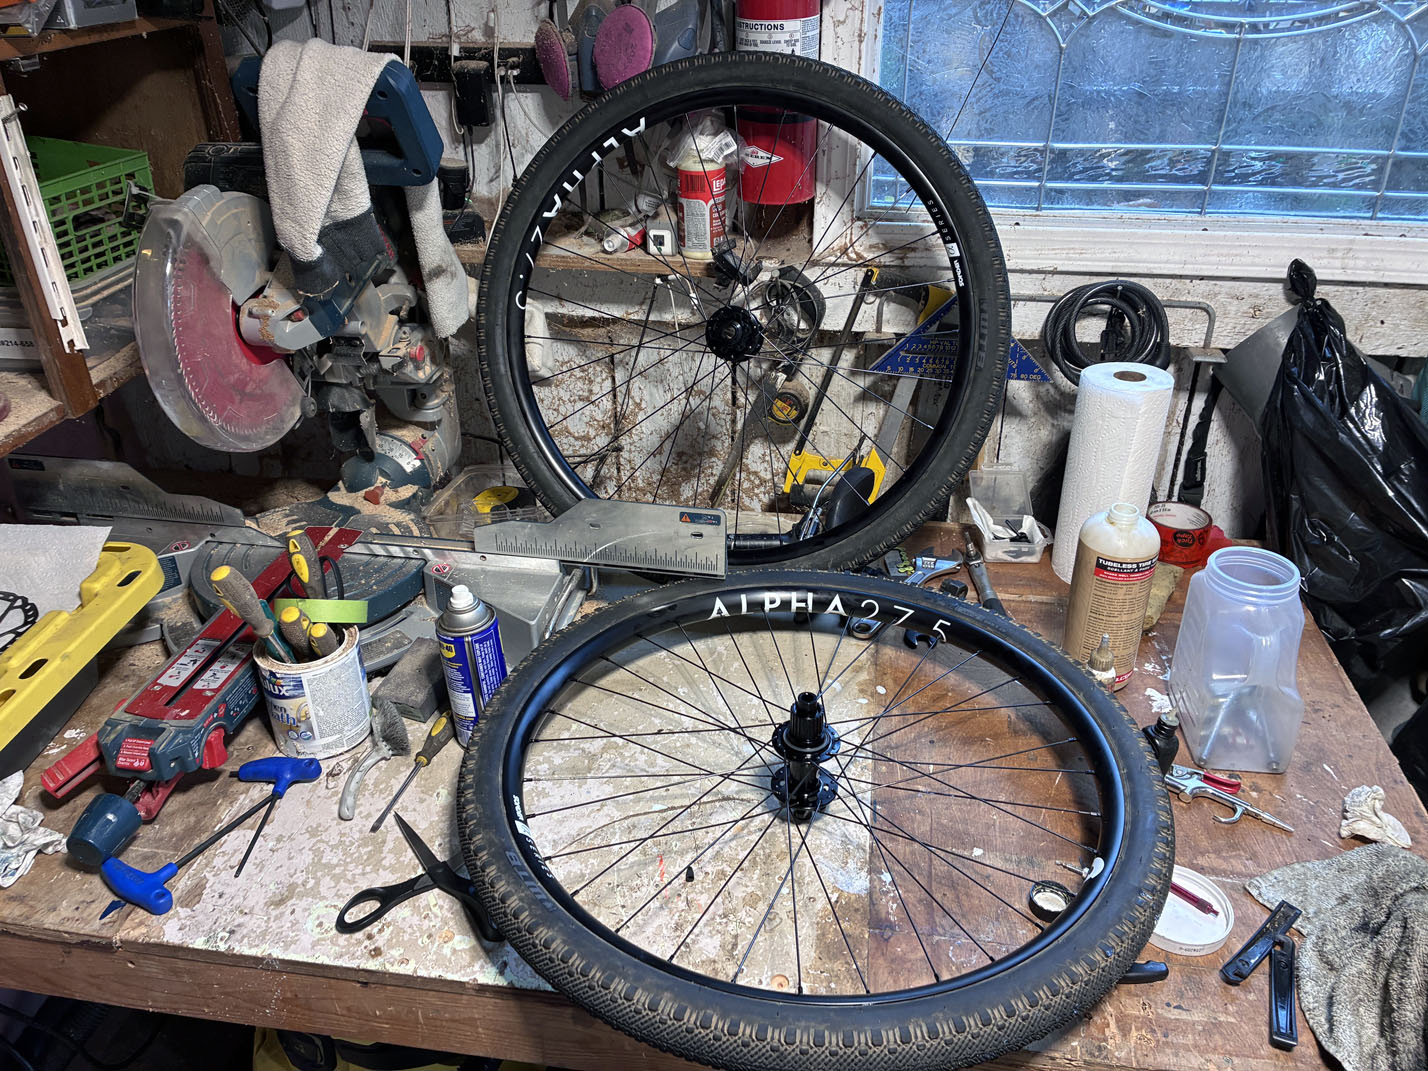
  15. Two wheels on the workbench with cassette and rotor removed, showing the bare freehub.
    Both wheels sealed up tubelessly. Compressors are awesome :)
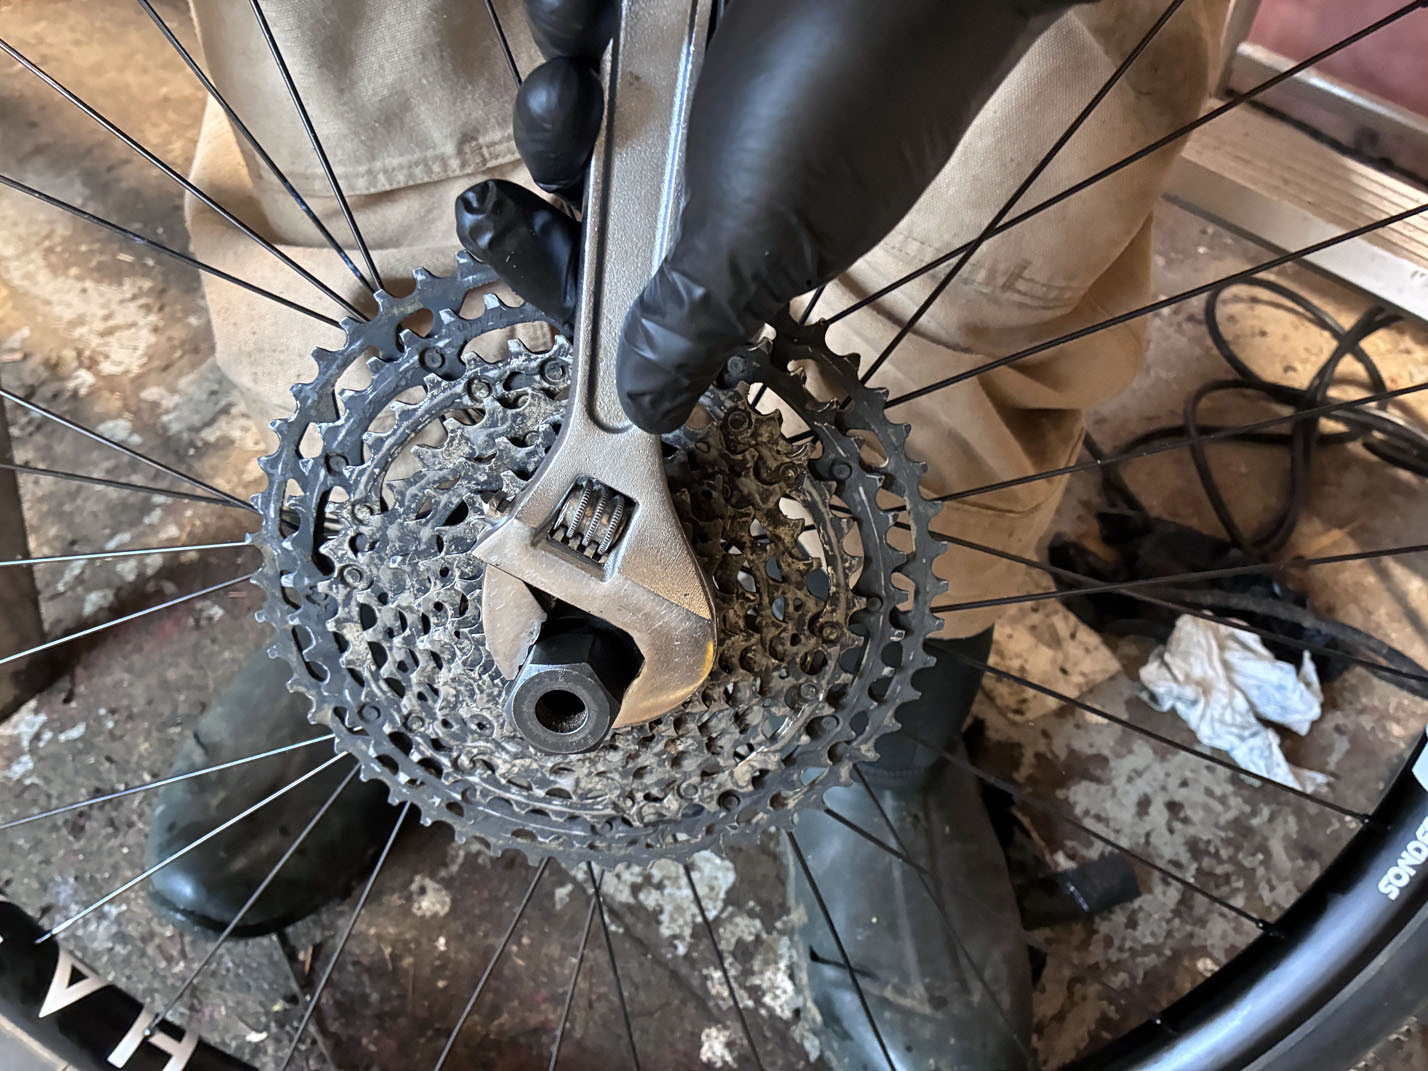
  16. Gloved hands turning an adjustable wrench on a cassette lockring, with the muddy cassette in view.
    Cassette back on.
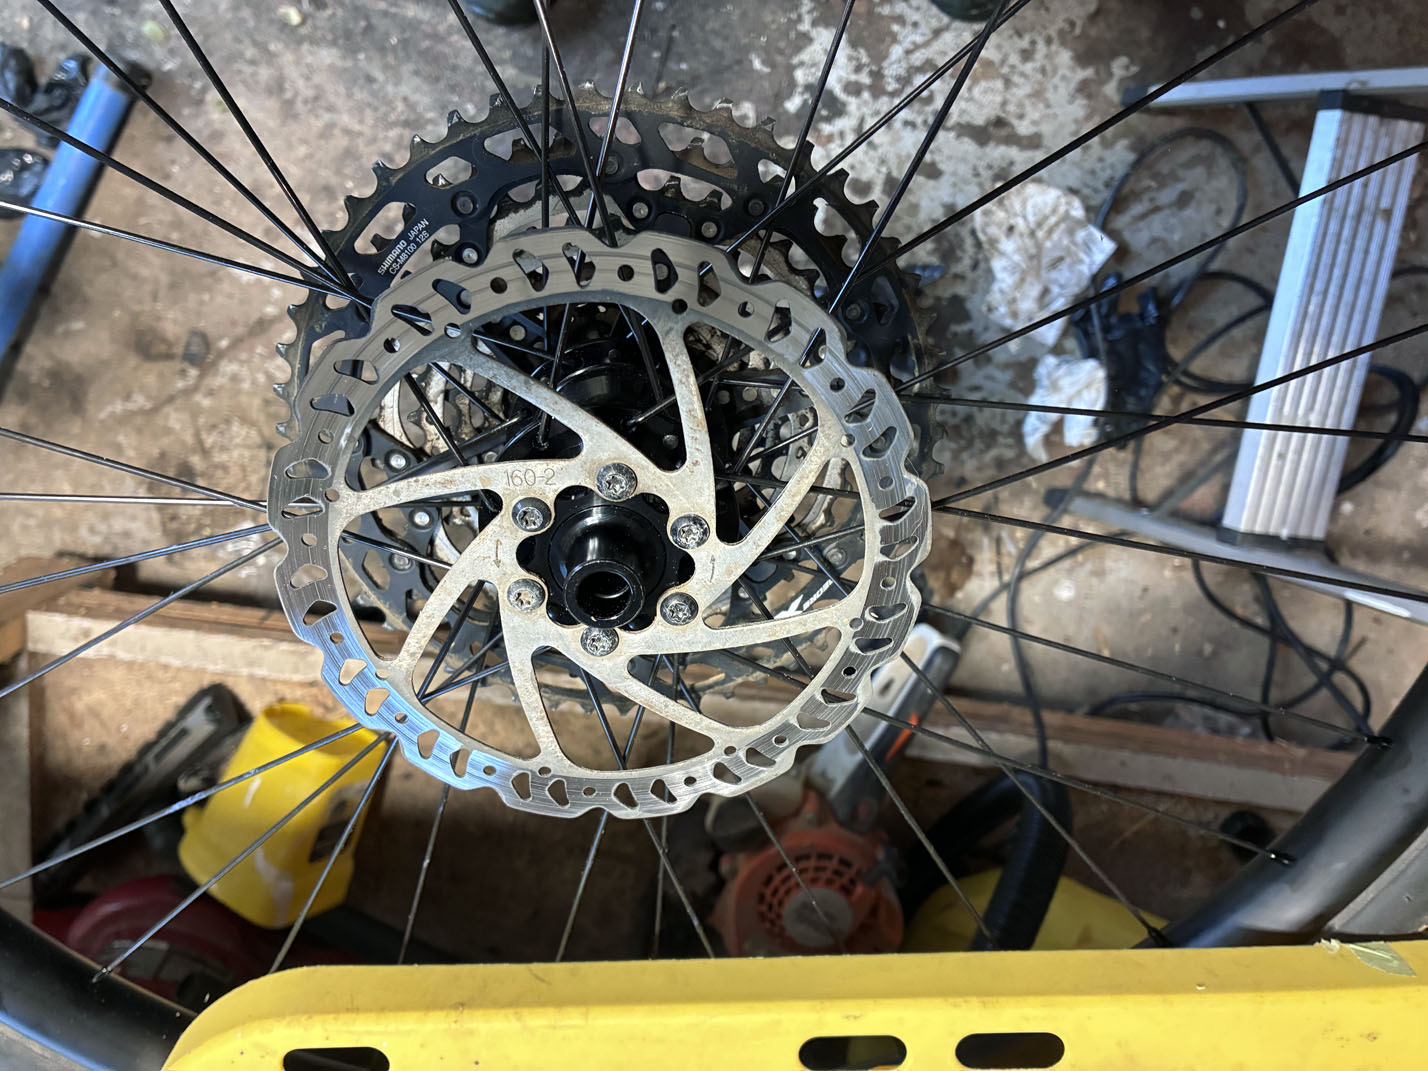
  17. A wheel lying flat with a worn six-bolt rotor and the cassette visible behind it.
    Rotors back on (no cleaning - that's bullshit).
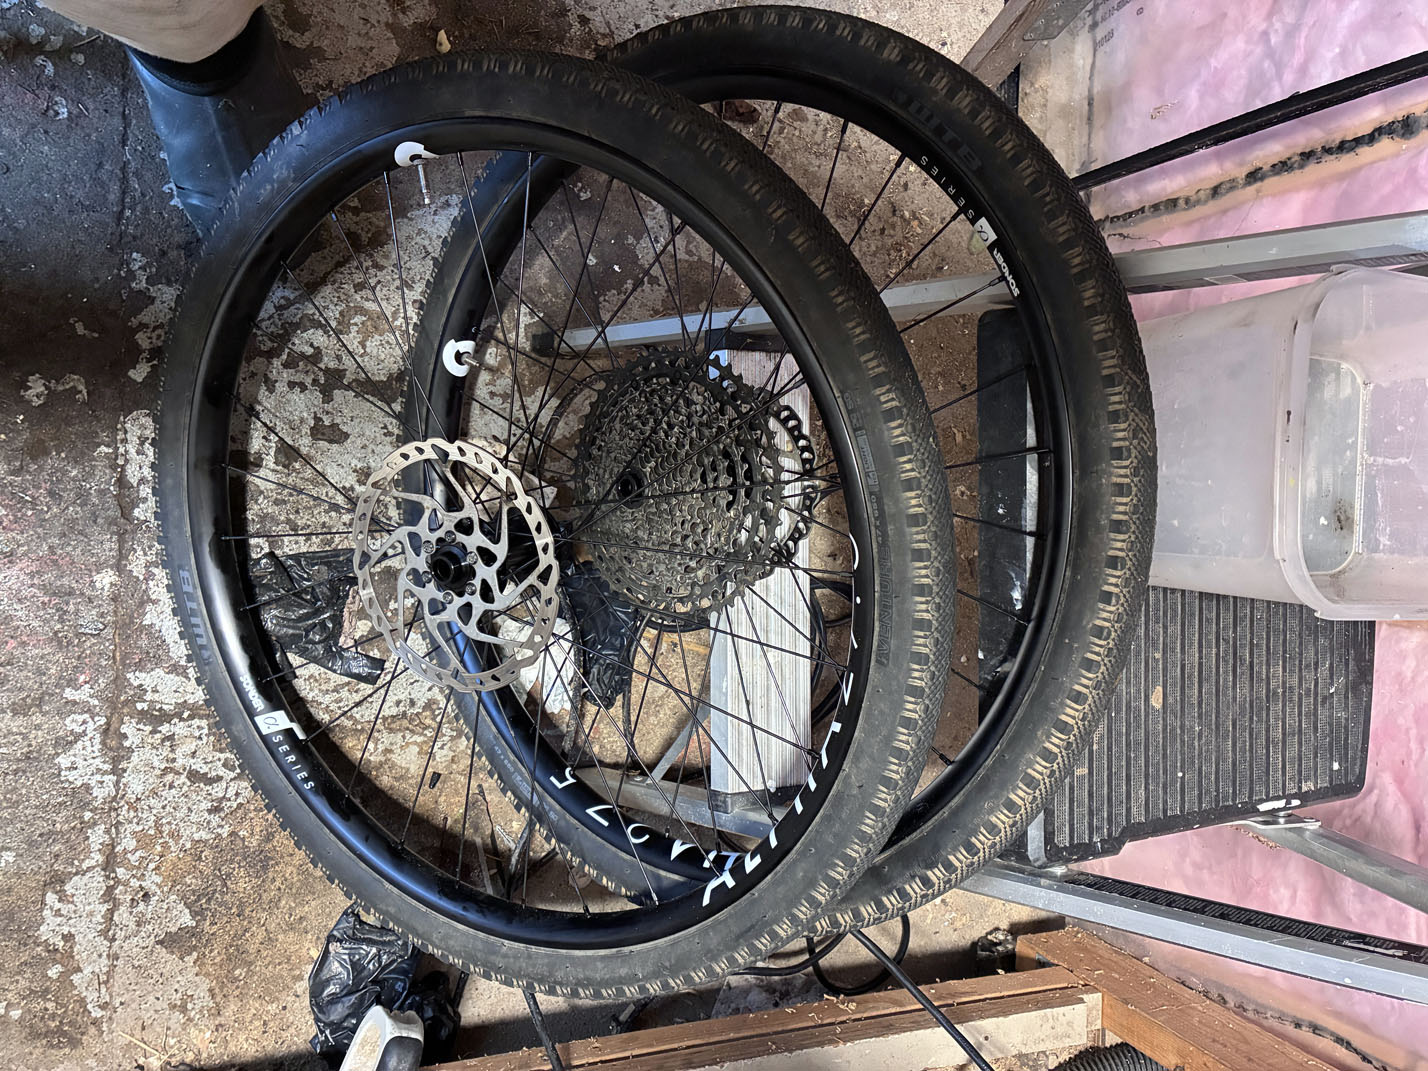
  18. Two rebuilt wheels leaning side by side, one showing a rotor and the other a cassette.
    Both wheels ready for installation.
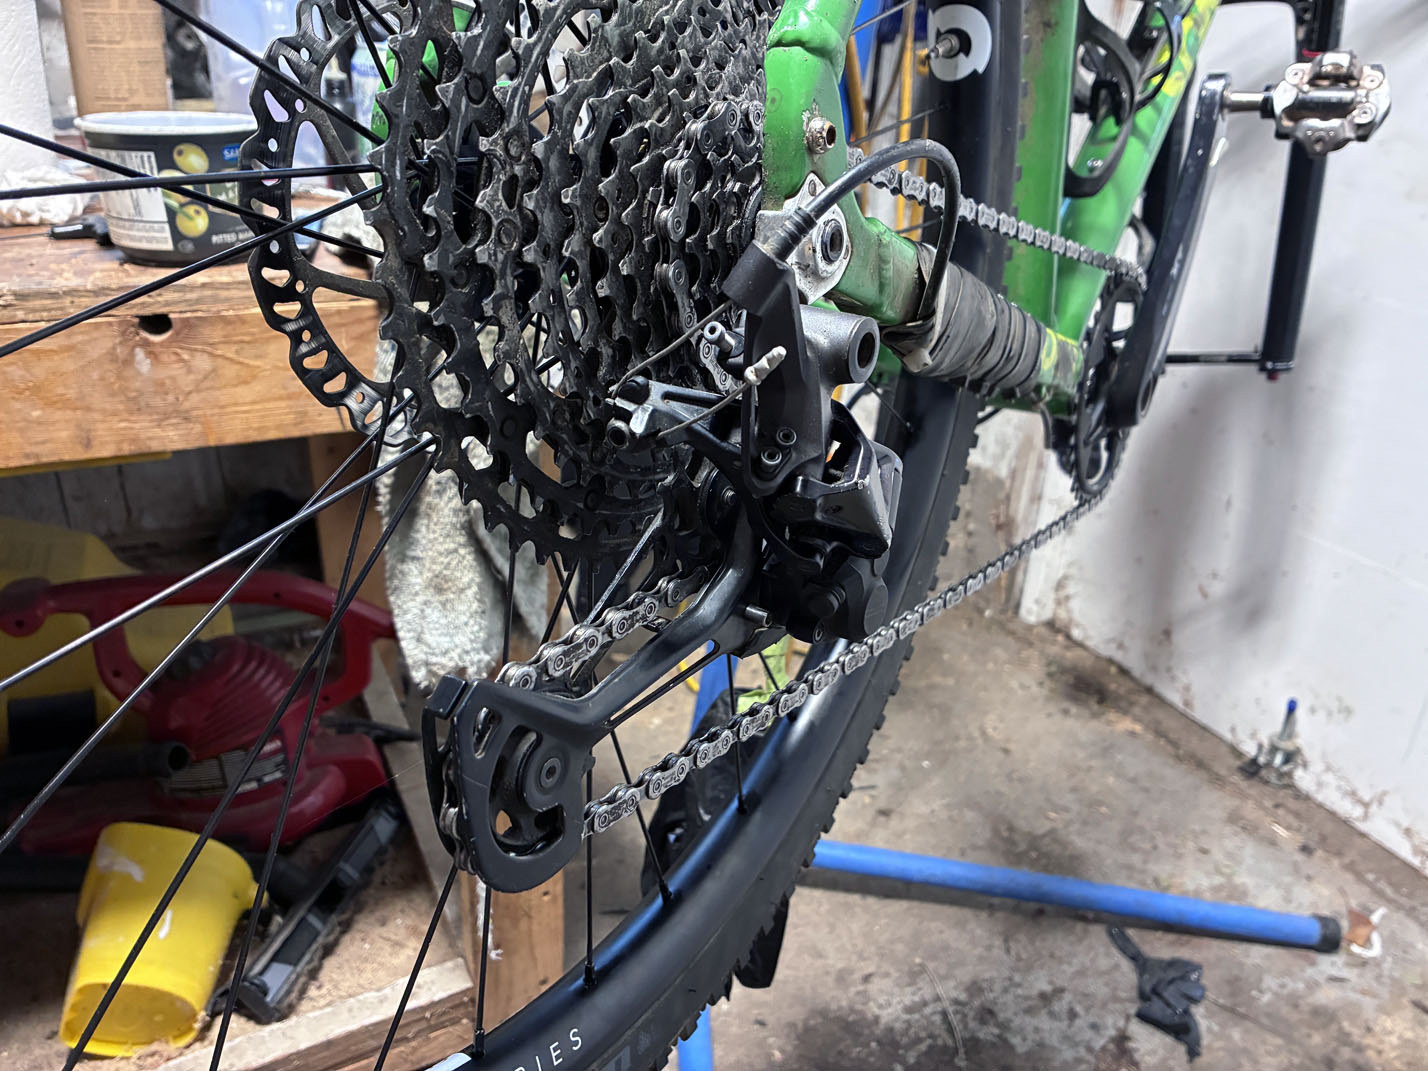
  19. The rear derailleur and mud-covered cassette with the chain running through the jockey wheels.
    Thread chain around the rear cassette/derailleur and the front chainring.
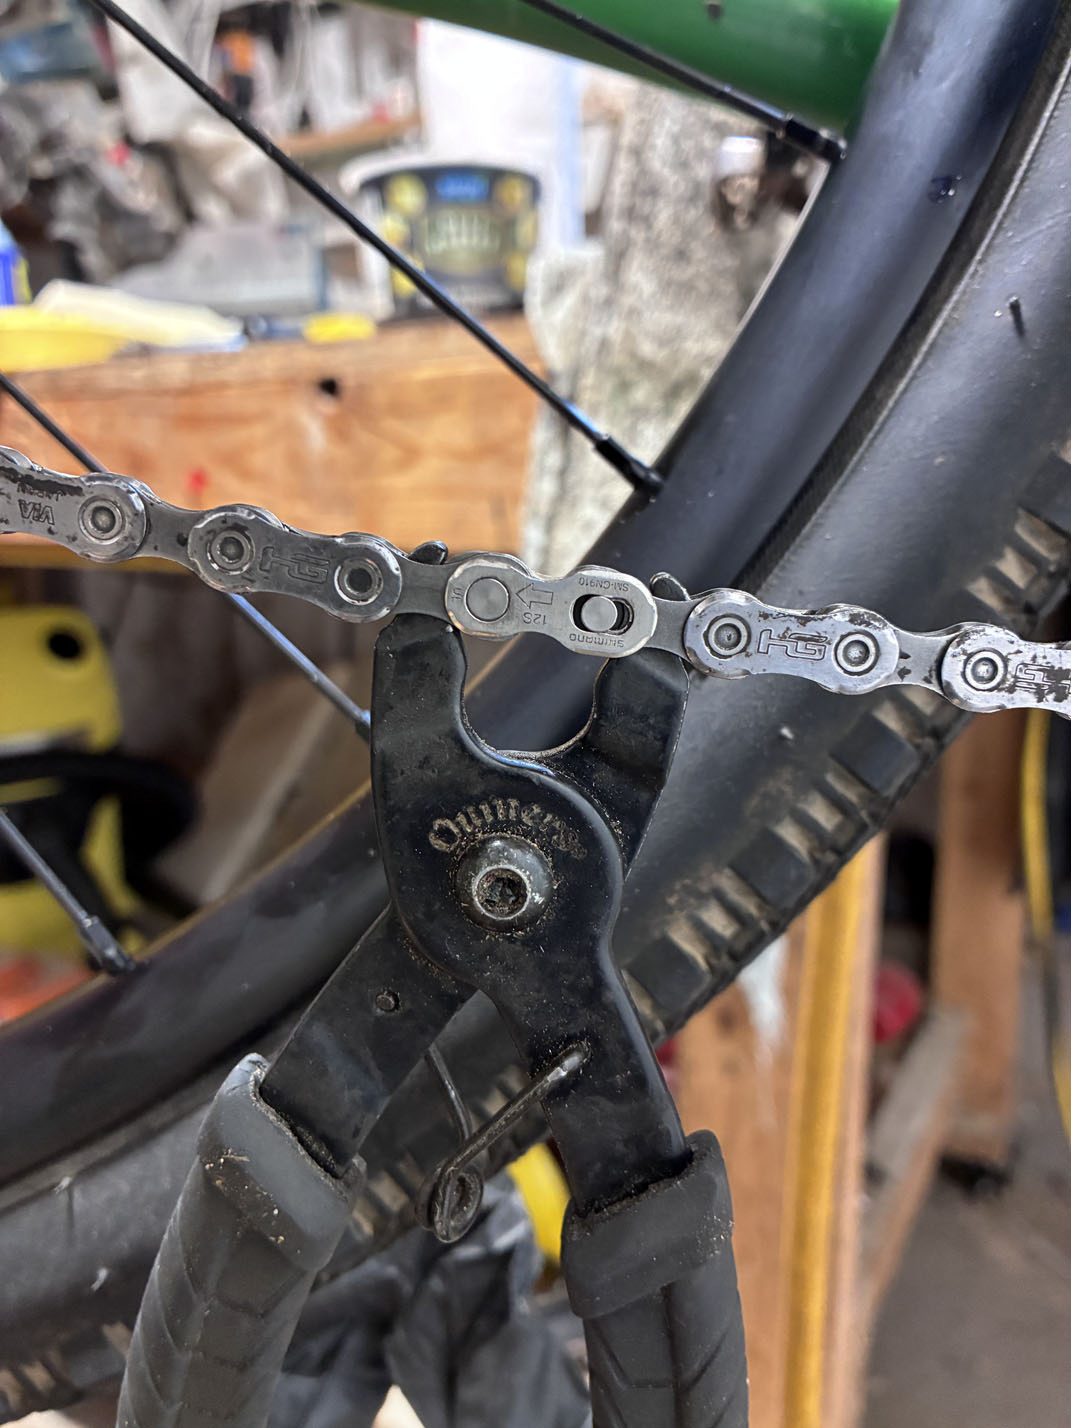
  20. Quick-link pliers gripping a silver chain at the rear dropout.
    A quick link seals the deal.
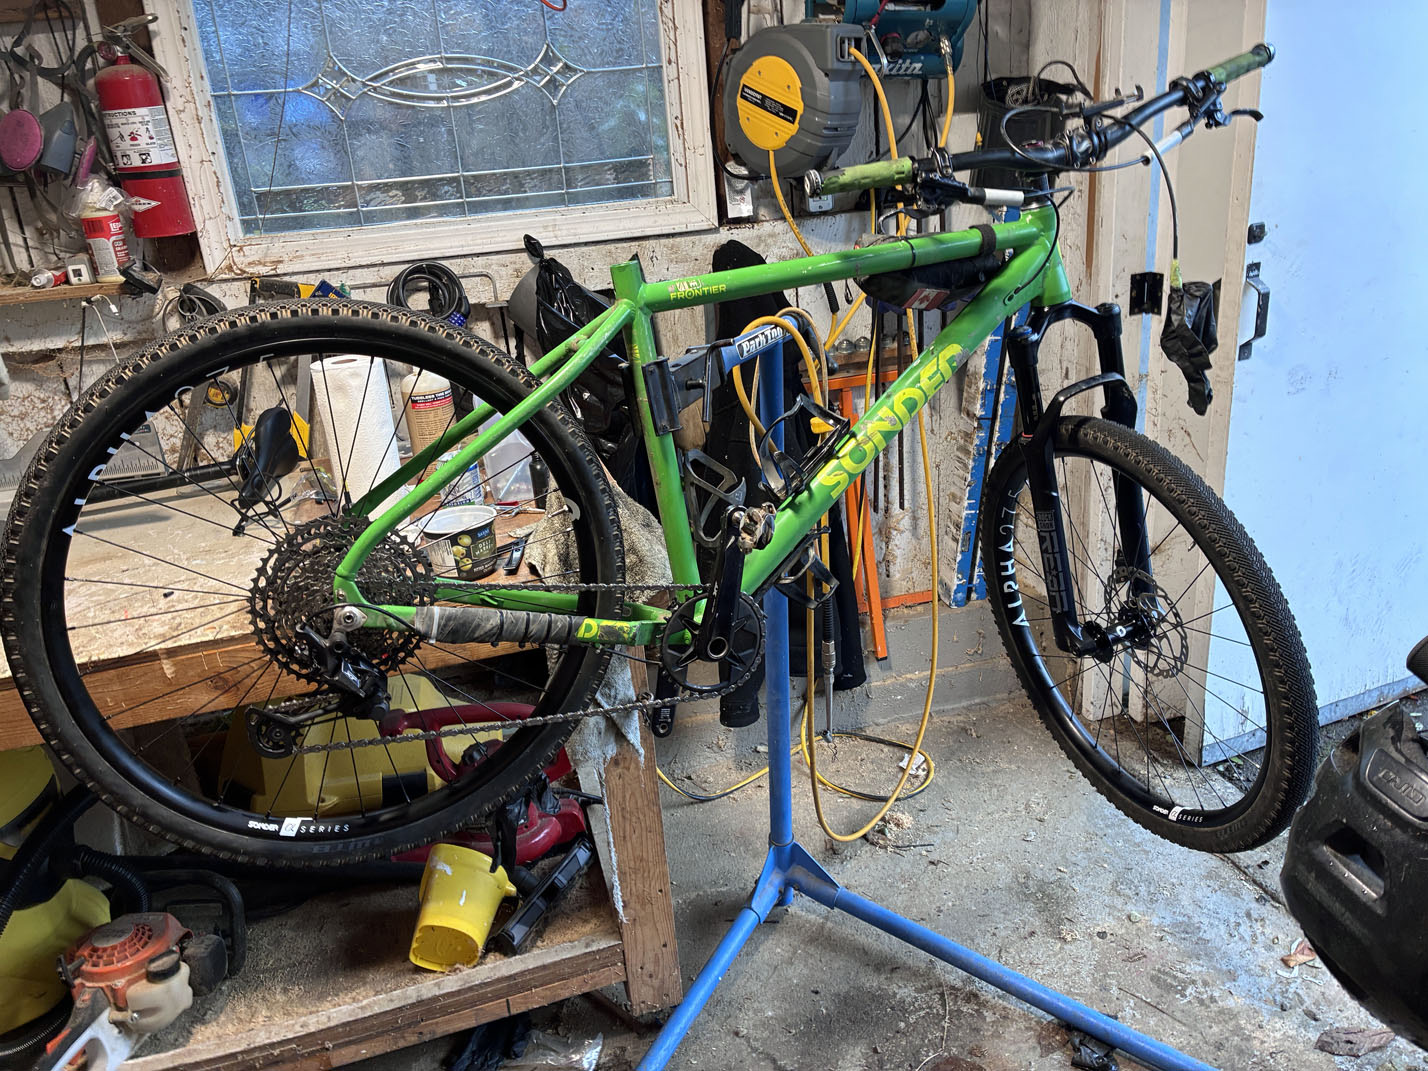
  21. The complete green bike clamped in the blue work stand with both wheels fitted.
    Back in the stand with both wheels on.
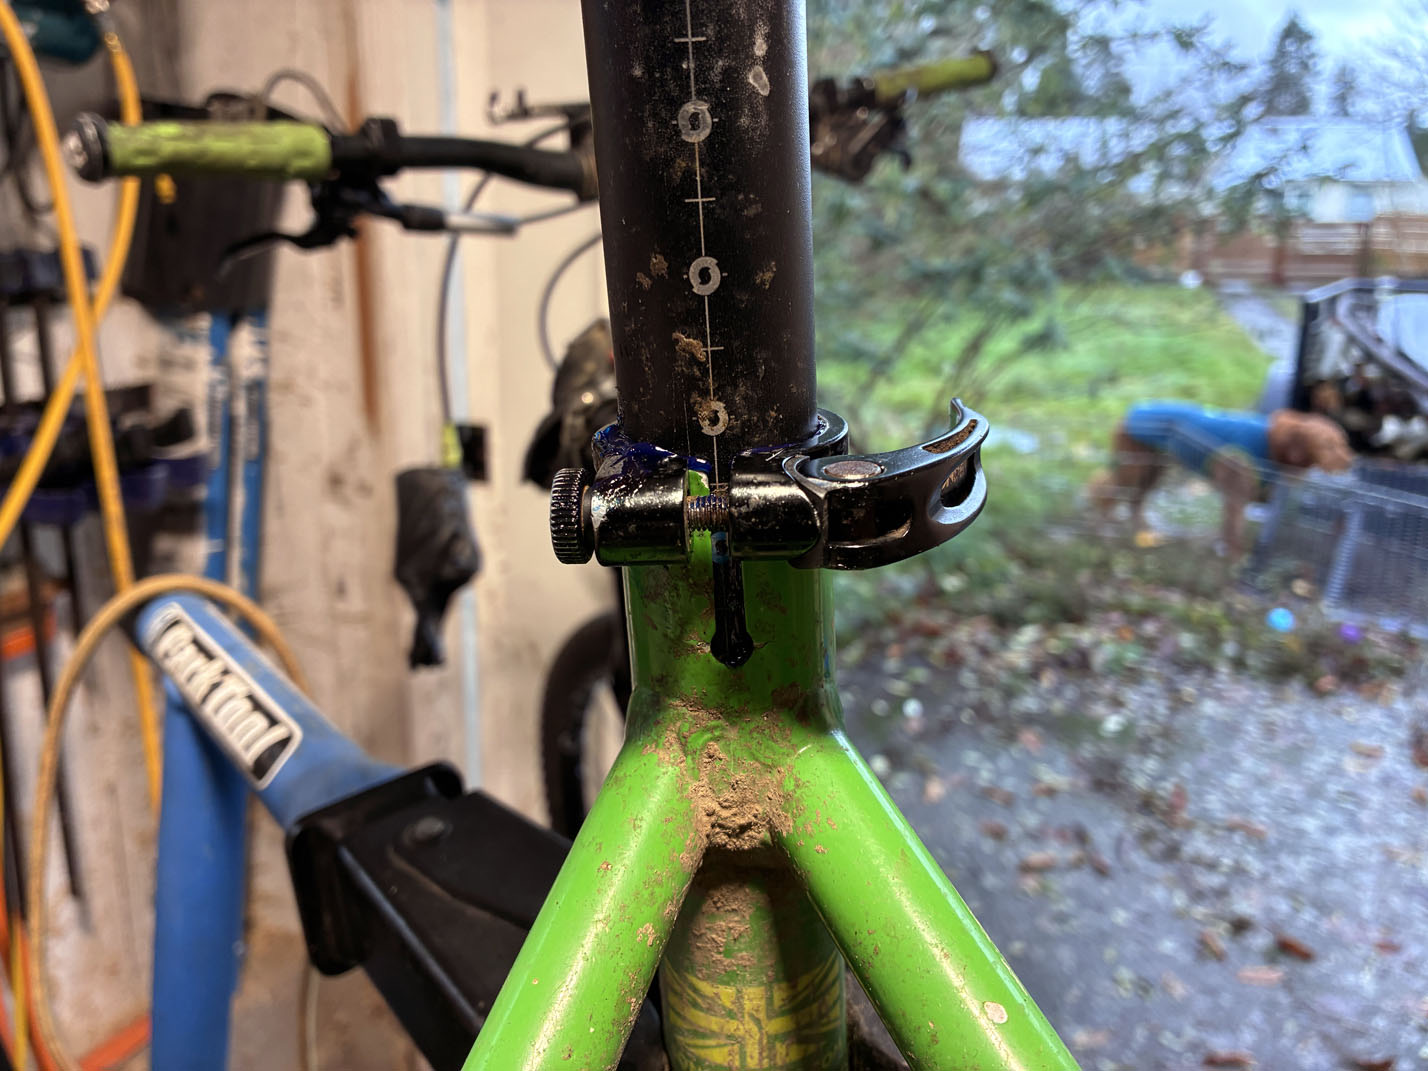
  22. Close-up of the seatpost entering the green seat tube, with height marks and a quick-release clamp.
    Seatpost and clamp cleaned and greased.
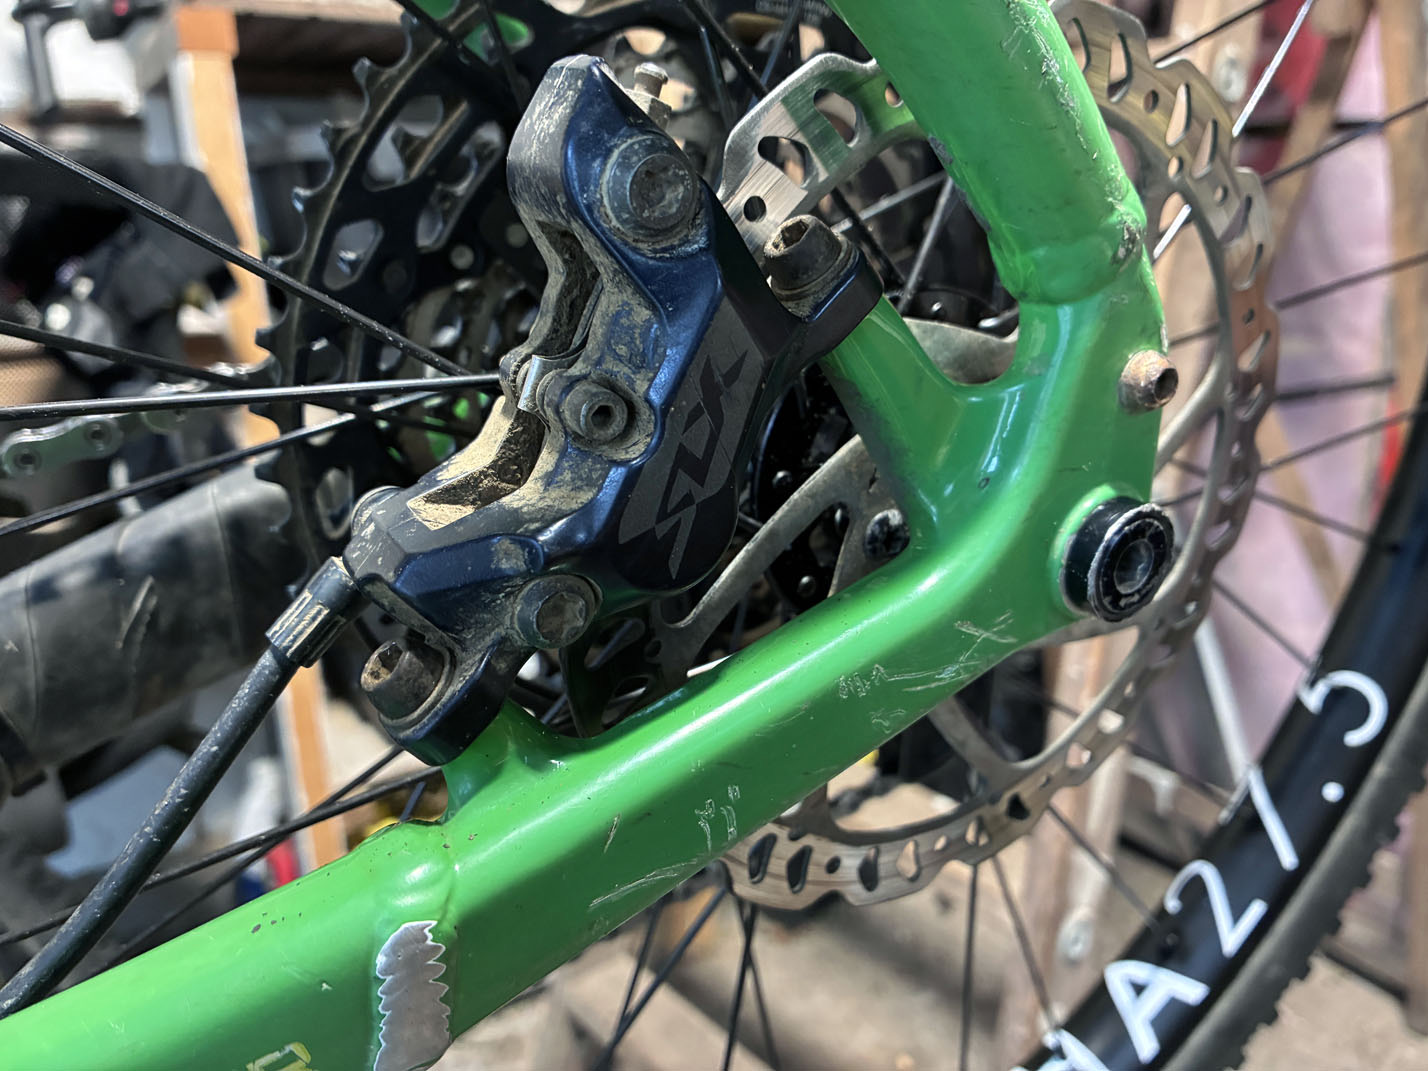
  23. Close-up of the muddy rear brake caliper, rotor and dropout on the green frame.
    Rear caliper back on.
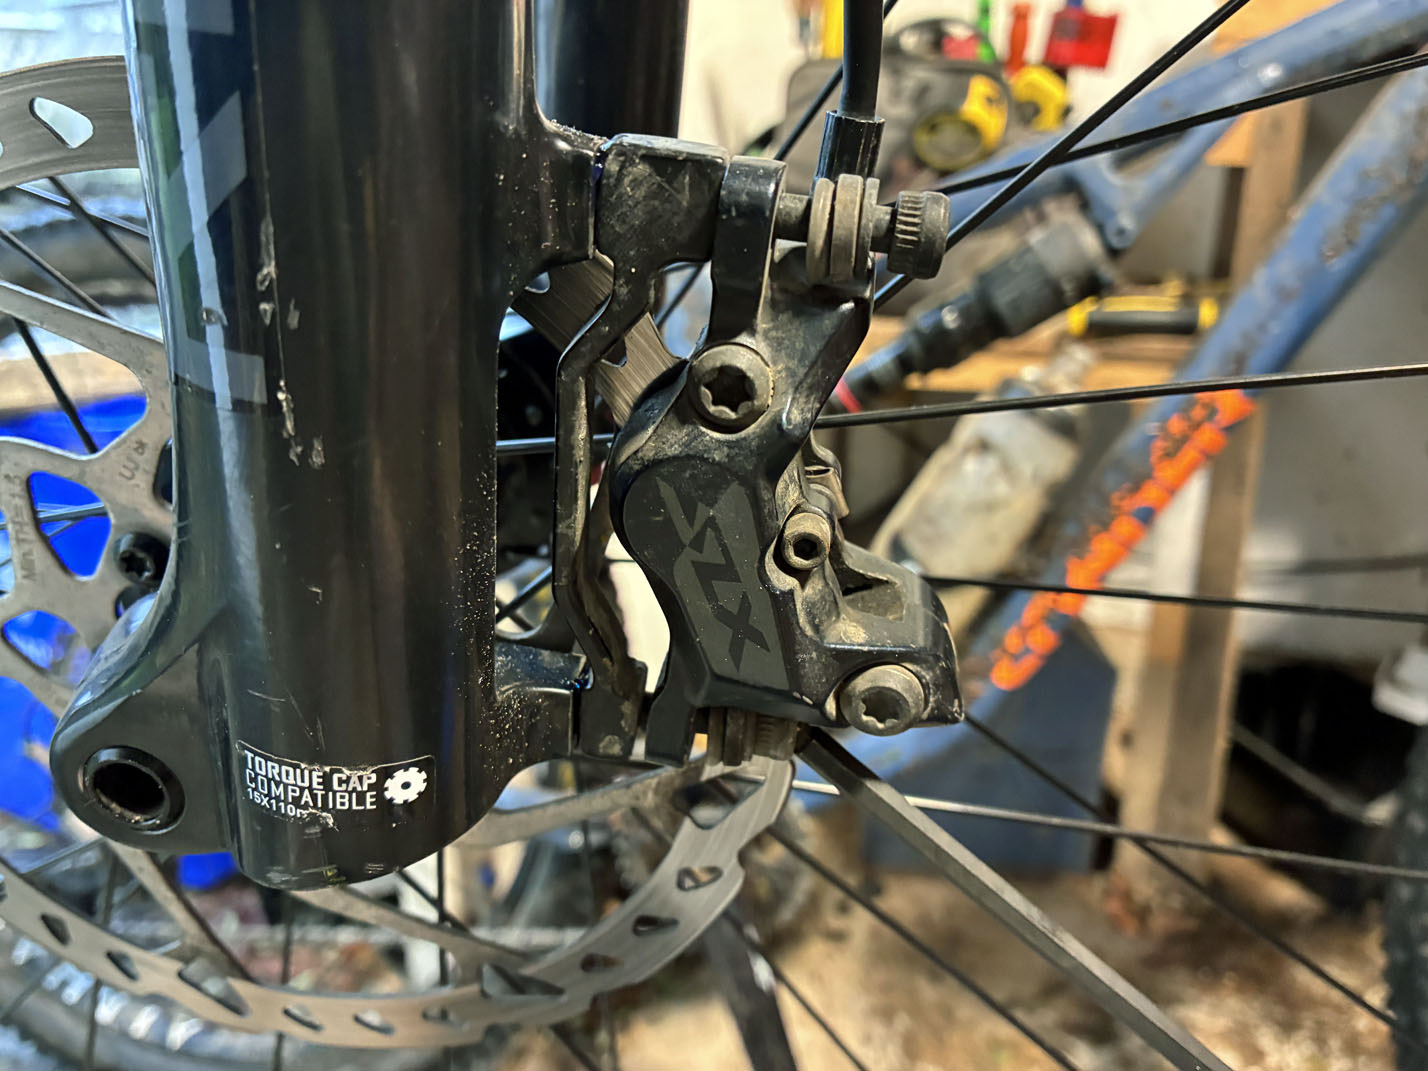
  24. Close-up of the front brake caliper and rotor on the black fork leg beside a torque-cap sticker.
    Front caliper reinstallation.
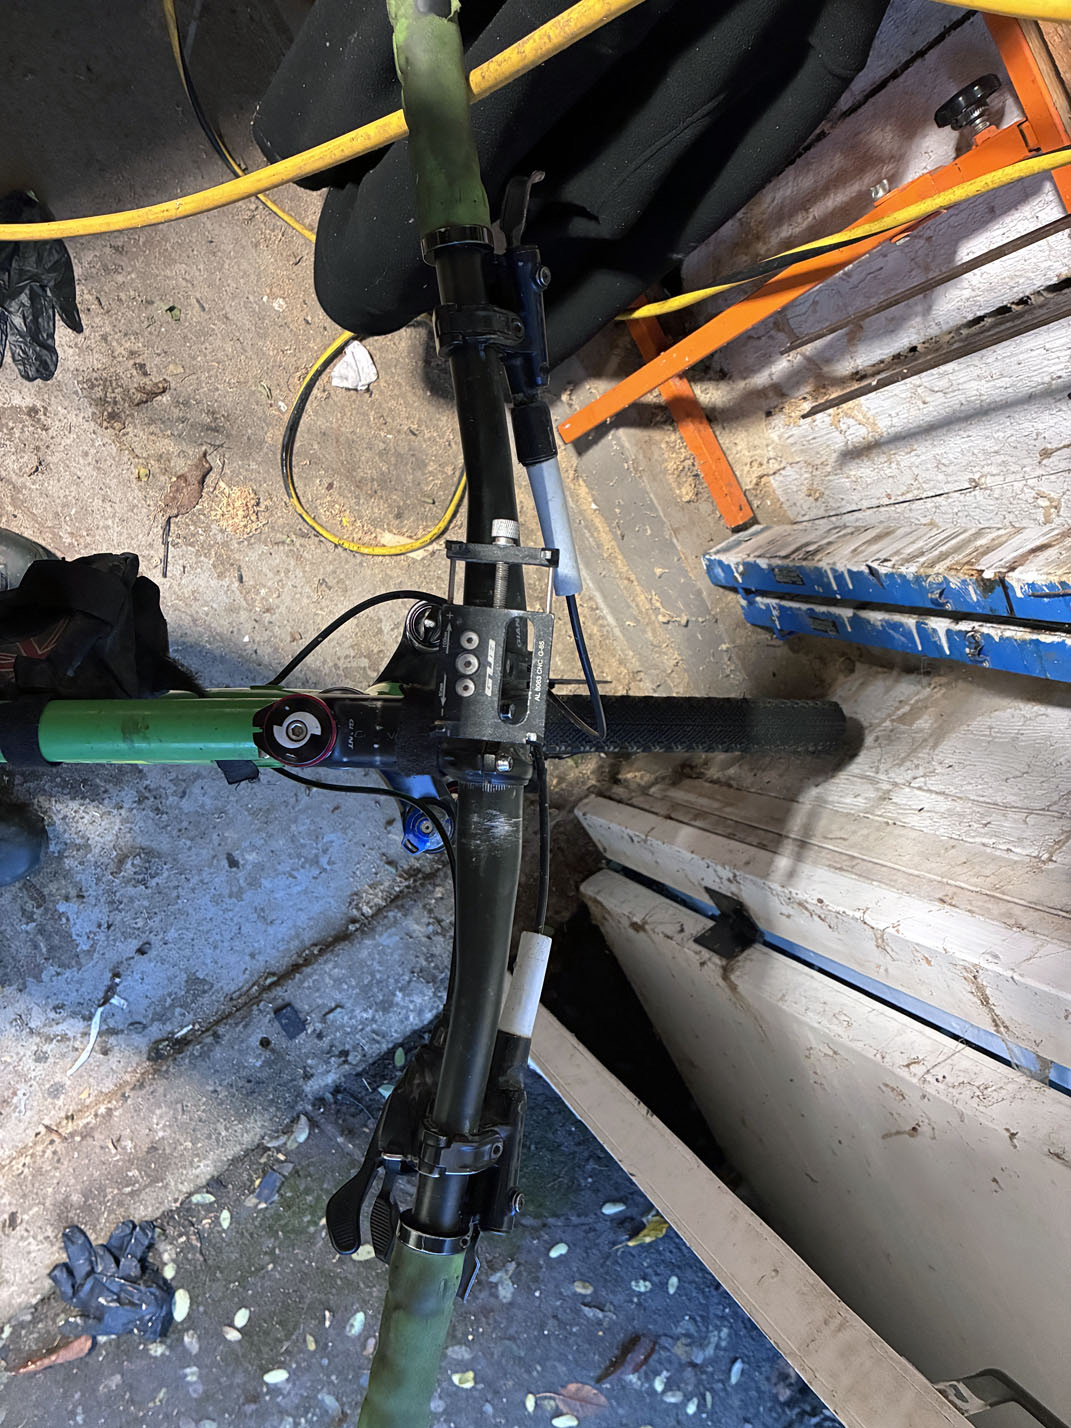
  25. The handlebar seen end-on, with green grips, stem and brake levers.
    Using a corner to get the handlebars straight before final tightening.
  26. The finished green bike standing upright in the workshop, fully assembled with both wheels fitted.
    Done.