
Tiny House Construction – Week 5
Posted on 29/02/2016 under My Tiny House Project
Day 19
Today I focused on making sure the walls were straight. To do this I had to remove the braces and check every section with a spirit level. I was pleased with how solid the walls felt, even though there isn’t much holding them down. By the time I am through they should be rock solid. I also finished off some nailing and small framing jobs that I wasn’t able to do before the walls where raised. It’s funny how things have changed with the walls up. Working around the house I now have to exit through the door opening just to grab and tool, whereas before I could just step over what I was walking on. The little things you don’t consider.Day 20
More framing today, this time the two loft walls which will be the bedroom. These went pretty smoothly, but I am still surprised by how much harder framing is than I imagined. Especially keeping the walls perfectly square whilst nailing them together. It is obviously a skill that comes with time. I also got hold of the wood that will be the two visible loft joists. These need to be strong, and will also the first piece of wood that will be visible, so they need to look nice. I decided to go with Douglas Fir. I could only find green, rough cut pieces at the local saw mill which had been sitting out in the rain. This got me thinking that I would need to dry them out and find someone to plane them to size, which would be a fair bit of work for two pieces of wood! Checking at the builders merchants however I found exactly what I was looking for on the shelf. I selected some niece looking pieces that hadn’t been knocked around and I was on my way.Day 21
Richard and Sarah both came by today, which was a big help as the jobs I had lined up all consisted of lifting things up to the loft level. With a bit of trial and error planing, and some ‘fine tuning’ with a mallet we managed to get the loft joists up and into place.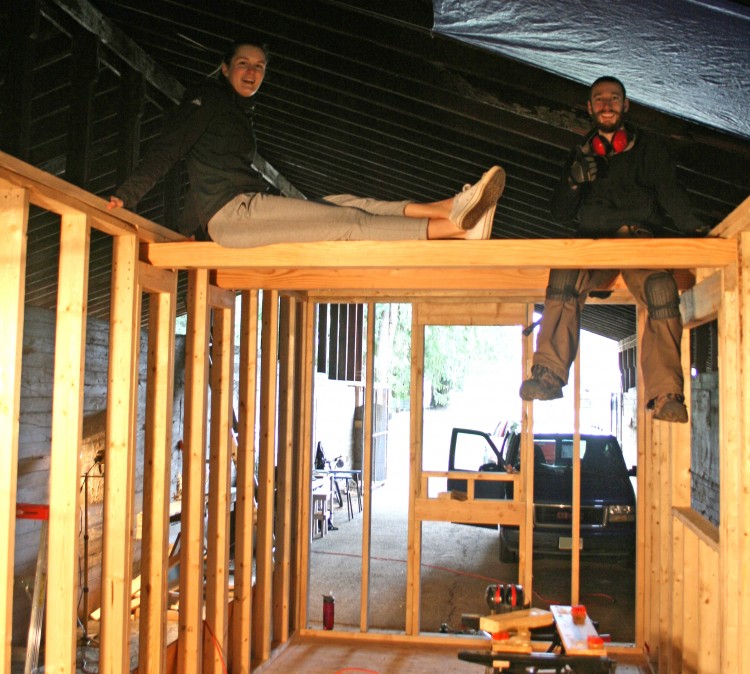
We have a second storey!
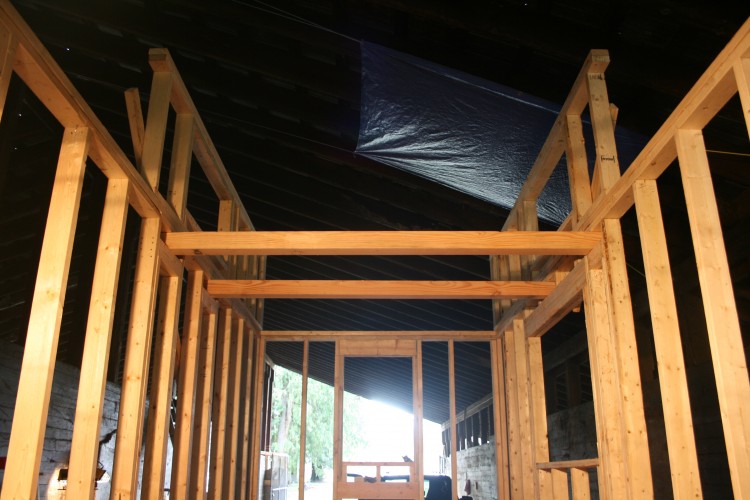
The loft walls in place
Day 22
Today was meant to be a day off, but my tiny house barn neighbours where moving their house out of the barn today, so I offered to help out. Progress was slow to begin with, so in between helping I managed to drill the holes for, and install the threaded rods which run from the trailer right up to the top of the wall, forming a nice solid connection.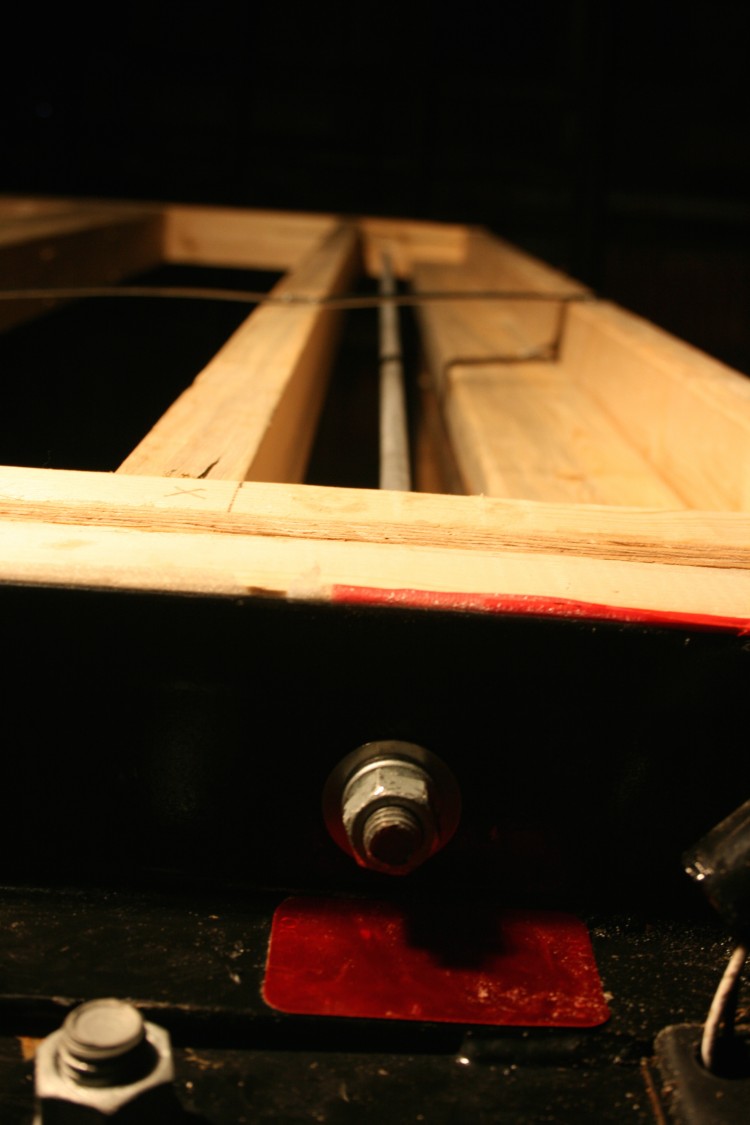
Threaded rods form a metal connection between the trailer and double top plate
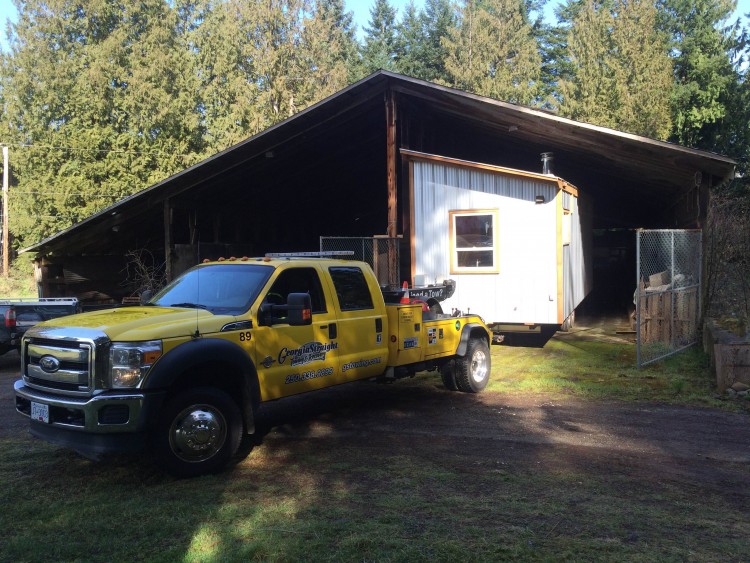
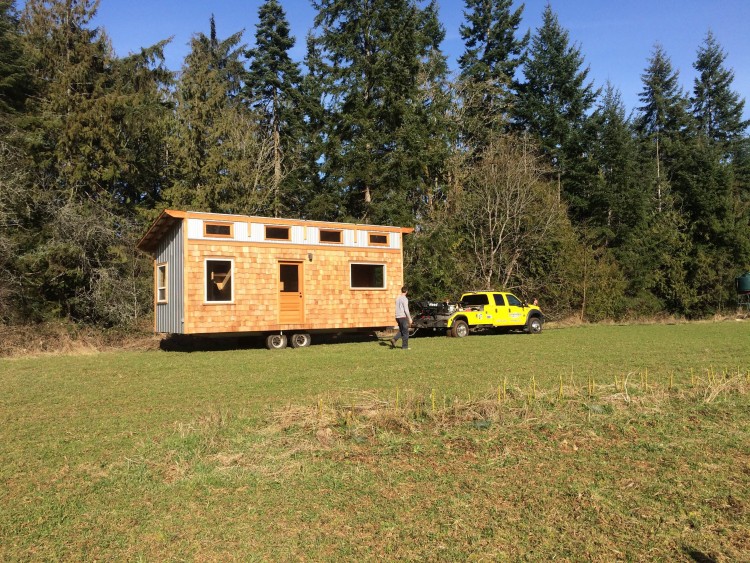
Tiny houses aren’t meant to live indoors
Day 23
With the threaded rods installed, the walls where starting to become nice and secure, but I wasn’t done. Next on the list was to install metal strapping diagonally on all of the walls to stop them from collapsing, known as ‘racking’. The aim here is to add extra strength to the walls, especially whilst being towed.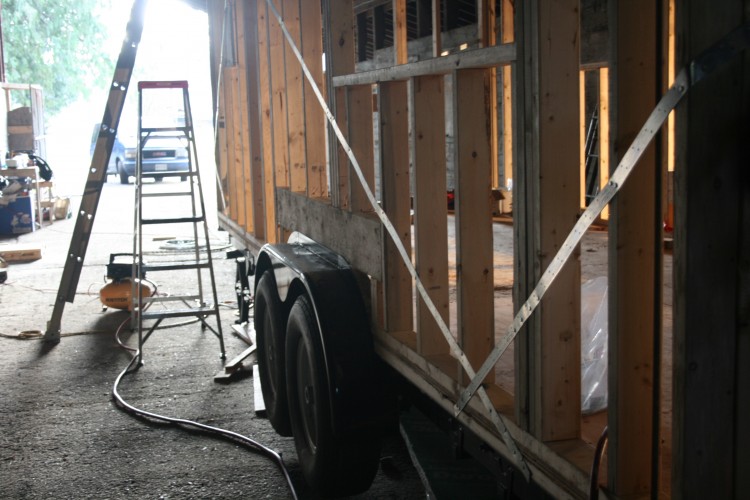
Adding strapping to the walls
I now need to start getting serious about building the roof, the next piece of the puzzle. I should probably order my doors and windows too.
At last you had some fine days. It’s really taking shape isn’t it. Congratulations. love, Grandma